Dealing with an unreliable key fob can be a major hassle, especially when it comes to your trusty 1998 Jeep Cherokee. Like many owners of this classic XJ model, you might have experienced the frustration of a malfunctioning factory keyless entry system. Perhaps you’ve already spent money at the dealership trying to reprogram or fix your original 1998 Jeep Cherokee Key Fob, only to face the issue again. The good news is, you’re not stuck with expensive dealer visits. Upgrading to an aftermarket keyless entry system is a cost-effective and surprisingly straightforward DIY project that can save you both time and money.
For many 1998 Jeep Cherokee Sport owners, the factory-installed keyless entry was a welcome feature. However, these systems are now decades old and prone to issues. From remotes that stop working after battery changes to modules that fail entirely, the problems can be persistent. Instead of repeatedly paying dealership fees for reprogramming or repairs, a complete replacement with an aftermarket system offers a more permanent solution. This guide will walk you through the process of replacing your aging factory system with a reliable and affordable aftermarket option, the Proline REC43T+, a popular choice among Jeep Cherokee enthusiasts.
Why Choose an Aftermarket Keyless Entry System for Your Cherokee?
Opting for an aftermarket keyless entry system like the Proline REC43T+ for your 1998 Jeep Cherokee offers several advantages over sticking with the original, often problematic, factory setup.
Firstly, cost savings are significant. Dealership reprogramming fees can quickly add up, and replacing the entire factory module at a dealer can be very expensive. Aftermarket systems, like the Proline REC43T+, are considerably cheaper to purchase outright. You can often find them for around $35 online, a fraction of the cost of dealer services.
Secondly, DIY installation is entirely feasible for most Jeep owners. As you’ll see in this guide, the process involves basic wiring and doesn’t require specialized tools or automotive electrical expertise. This empowers you to take control of your car’s maintenance and avoid labor costs from mechanics or dealerships.
Finally, improved reliability is a key benefit. Newer aftermarket systems are designed with modern technology and can offer more consistent performance than the aging factory modules in 1998 Jeep Cherokees. By replacing the entire system, you’re eliminating the potential for future failures associated with the old components.
Tools and Parts You’ll Need
Before starting the installation, gather all the necessary tools and parts to ensure a smooth and efficient process. For this 1998 Jeep Cherokee key fob replacement project, you will need:
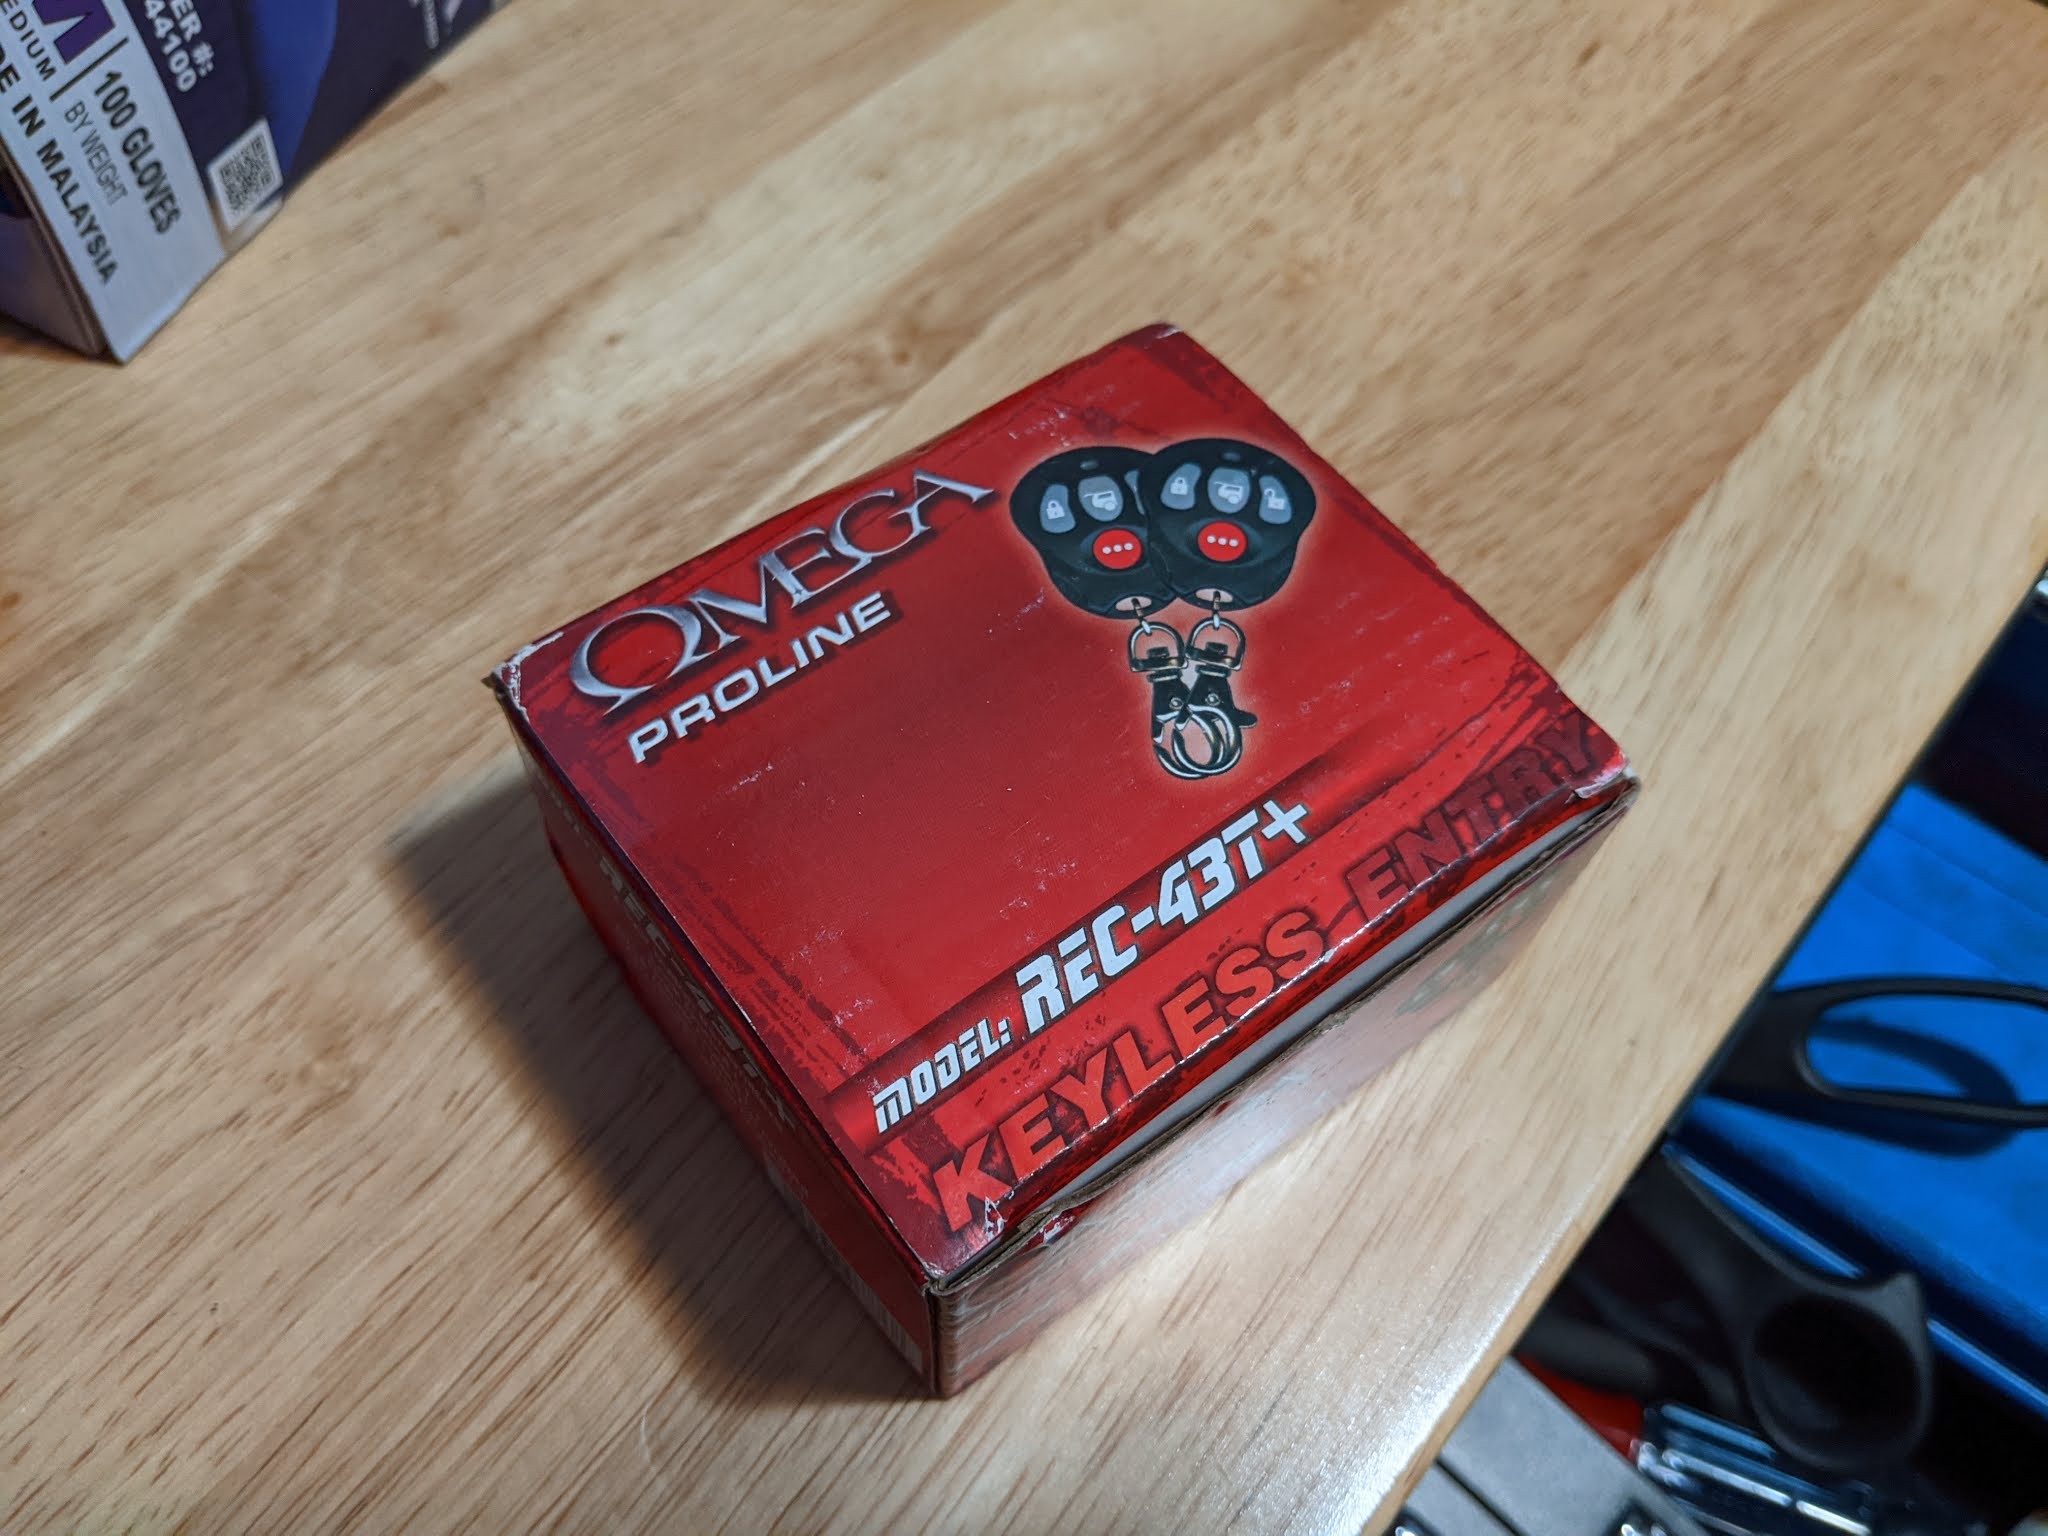
- Proline REC43T+ Keyless Entry System: This kit includes the module, two remotes, wiring harnesses, and installation instructions.
- Wire Cutter/Stripper: For cutting and stripping wires to make connections.
- Crimping Tool: To securely crimp connectors onto wires.
- Crimp Connectors: To create reliable and insulated wire connections.
- Screwdrivers: Phillips head screwdrivers to remove the dome console and factory module.
- Velcro Fasteners or Double-Sided Tape: To mount the new module inside the dome console.
- Optional – Multimeter: While not strictly necessary for this install, a multimeter can be helpful for verifying wire connections if needed.
With your tools and the Proline REC43T+ kit ready, you can proceed with the installation. The following steps will guide you through removing the old factory module and installing the new aftermarket system in your 1998 Jeep Cherokee.
Step-by-Step Installation Guide
This section provides a detailed, step-by-step guide to replacing your 1998 Jeep Cherokee’s factory keyless entry module with the Proline REC43T+. Follow these instructions carefully to ensure proper installation and functionality.
Remove the Dome Console
The first step is to access the factory keyless entry module, which is located in the dome console on the ceiling of your Jeep Cherokee.
-
Remove the Center Light Cover: Gently pry off the clear plastic cover of the center dome light. This usually pops off easily with your fingers or a small flat plastic tool.
-
Loosen the Dome Console Screws: Once the light cover is removed, you’ll see two screws on each side of the bulb. Use a Phillips head screwdriver to loosen these four screws. You don’t need to remove them completely, just loosen them enough to allow the console to slide.
-
Slide and Remove the Console: After loosening the screws, the entire dome console assembly should slide forward slightly. Gently pull the console forward and down to remove it from the ceiling.
-
Disconnect Wire Harnesses: With the console lowered, you’ll see two wire harnesses connected to it. One is for the dome lights, and the other connects to the factory keyless entry module. Carefully disconnect both of these harnesses by pressing the release clips and pulling them apart.
-
Remove Dome Console Assembly: Once both wire harnesses are disconnected, the entire dome console assembly can be completely removed from the vehicle.
Splice the Factory Wires
Now you need to identify and splice into the correct factory wires for the new keyless entry system. The Proline REC43T+ requires connecting to four specific wires in the factory wiring harness.
-
Identify the Correct Factory Wires: Locate the factory keyless entry module wiring harness. You’ll need to identify these four wires:
- Blue Solid
- Pink Solid
- Light Blue w/ Red Stripe
- Black Solid (There may be two black wires; either one will work as ground).
-
Splice into Factory Wires: Using your wire cutter/stripper, carefully strip a small section of insulation from each of the four identified factory wires. You can then use crimp connectors to splice into these wires. For each factory wire, insert the stripped end into one side of a crimp connector.
Connect the New Wire Harnesses
The Proline REC43T+ kit comes with two wire harnesses: a white 4-wire harness and a red 2-wire harness. You’ll connect these to the spliced factory wires.
Connect the White (4-Wire) Harness
-
Identify Wires on White Harness: From the white 4-wire harness, you will only use the red and black wires. The other two wires are not needed for this installation on a 1998 Jeep Cherokee.
-
Connect to Factory Wires: Connect the wires from the white harness to the factory wires as follows, using crimp connectors to secure the connections:
- White Harness Red Wire → Pink Solid Factory Wire
- White Harness Black Wire → Black Solid Factory Wire
Connect the Red (2-Wire) Harness
-
Identify Wires on Red Harness: The remaining connections will be made using the red 2-wire harness from the Proline kit.
-
Connect to Factory Wires: Connect the wires from the red harness to the remaining factory wires:
- Red Harness Green Wire → Light Blue w/ Red Stripe Factory Wire
- Red Harness Blue Wire → Blue Solid Factory Wire
Remove the Factory Module
With the wiring connections made, you can now remove the old factory keyless entry module from the dome console.
-
Locate Factory Module Screws: The factory module is a green circuit board attached to the dome console. It is secured by two small screws near the corners of the board.
-
Remove Screws and Module: Use a Phillips head screwdriver to remove these two screws. Once the screws are removed, the factory module should easily pop out.
Attach the New Module
Now, mount the new Proline REC43T+ module inside the dome console.
-
Mount the New Module: Use double-sided tape or Velcro fasteners to attach the new Proline REC43T+ module to the dome console. Velcro is a good option as it allows for easy removal if needed in the future.
-
Route the Antenna: The Proline REC43T+ comes with an antenna wire. Carefully route this antenna wire around the inside edge of the dome console, tucking it into any available space to keep it secure and out of the way. This antenna improves the range of your key fobs.
Connect Wire Harnesses to Module
With the new module mounted and wired to the factory harness, the final step before reassembling the dome console is to connect the new wire harnesses to the Proline REC43T+ module itself.
-
Plug in Wire Harnesses: Plug the white 4-wire harness and the red 2-wire harness into their corresponding ports on the Proline REC43T+ module. Ensure they click into place for a secure connection.
-
Reinstall Dome Console: Carefully slide the dome console back into its position in the ceiling, ensuring the wire harnesses are tucked neatly inside. Tighten the four screws you loosened earlier to secure the console. Finally, snap the clear dome light cover back into place.
Program the REC43T+ Remote
The last step is to program the remotes to communicate with the new Proline REC43T+ module.
-
Access the Reset Switch: Locate the reset switch on the Proline module. It’s a small black hole near the pins.
-
Enter Programming Mode: Press and hold the reset switch until the module beeps 5 times. This indicates it’s in programming mode.
-
Program Lock Button: Press the lock button on one of the remotes. The module should beep once to confirm.
-
Program Unlock Button: Press the unlock button on the same remote. The module should beep twice to confirm.
-
Wait for Confirmation: Wait a few seconds. The module will beep 5 times again to signal that the remote programming is complete.
-
Test the Remote: Test the programmed remote by pressing the lock and unlock buttons to ensure they now control your 1998 Jeep Cherokee’s doors. Repeat steps 3-5 for the second remote if included in your kit.
Conclusion
Upgrading your 1998 Jeep Cherokee key fob system with an aftermarket solution like the Proline REC43T+ is a smart move for any owner experiencing issues with their original keyless entry. This DIY project is not only cost-effective, saving you from repeated dealership charges, but also provides a more reliable and modern keyless entry experience. By following these steps, you can easily replace your old, problematic system and enjoy the convenience and peace of mind of a brand new, functional remote for your classic Jeep Cherokee XJ.