Programming your key fob for a 2009 Dodge Journey can be a straightforward process, potentially saving you a trip to the dealership. This guide provides clear instructions to program your key fob remote, allowing you to regain control and convenience. Before you begin, it’s crucial to ensure you have two already working programmed transmitters. This method is designed for adding a third or more key fobs when you already have two in operation. If you’re starting with only one or no working key fobs, this procedure will not be effective.
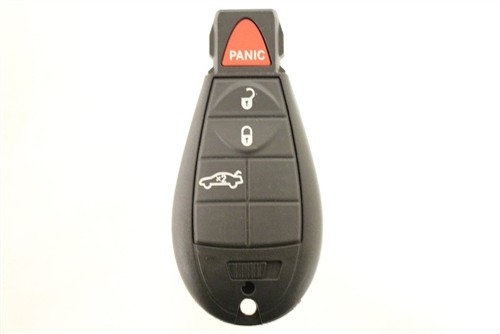 2009 Dodge Journey Key Fob: Follow our programming guide to easily set up your remote.
Prerequisites:
- Two Working Transmitters: This programming method strictly requires two currently functional key fobs. If you do not have two working key fobs, this DIY procedure will not work. In such cases, you will need to seek professional help from a locksmith or dealership.
- New Key Fob: Ensure you have a new, unprogrammed key fob compatible with your 2009 Dodge Journey. You can find replacement fobs at various automotive parts retailers or online. Part numbers compatible with the 2009 Dodge Journey include 68058346, 68058346AC, or 5026331.
Programming Steps:
- Initial Transmitter Activation: Take your first working programmed transmitter and turn the ignition to the ON position. Hold it in this position for 3 seconds, but do not exceed 15 seconds. Do not start the engine. After the time elapses, turn the ignition OFF and remove the transmitter.
- Second Transmitter Sequence: Within 15 seconds of removing the first transmitter, insert your second working programmed transmitter into the ignition. Turn the ignition to the ON position again (without starting the engine). Keep it in the ON position for approximately 10 seconds. You will hear an audible chime sound, and the immobilizer warning light on your dashboard will begin to flash. Once this occurs, turn the ignition OFF and remove the second programmed transmitter.
- New Key Fob Programming: Within 60 seconds of removing the second programmed transmitter, insert your new, unprogrammed transmitter into the ignition. Turn the ignition to the ON position (again, do not start the engine). After about 10 seconds, you’ll hear another chime, and the immobilizer warning light will illuminate steadily for 3 seconds.
- Finalization and Testing: Turn the ignition OFF and remove the newly programmed transmitter. Now, test all transmitters, including the new one, to ensure they are working correctly by locking and unlocking your doors and, if applicable, testing the remote start function.
Additional Key Fobs:
If you need to program more than one new key fob, simply repeat this entire procedure for each additional transmitter you wish to program. A 2009 Dodge Journey can accommodate up to 8 programmed transmitters.
Troubleshooting:
If you encounter difficulties programming your key fob or if you only have one or no working transmitters, consider seeking professional assistance. Automotive locksmiths possess the specialized tools and expertise to program key fobs even without existing working ones. You can locate a local locksmith by entering your city or zip code in online search engines to find a key fob programming professional near you.