Is your 2011 Honda Ridgeline key fob starting to act up? A common culprit is a dead battery. Luckily, replacing the battery in your Honda Ridgeline key fob is a straightforward process you can easily do yourself. This guide will walk you through each step, ensuring a smooth and successful battery replacement.
What You’ll Need
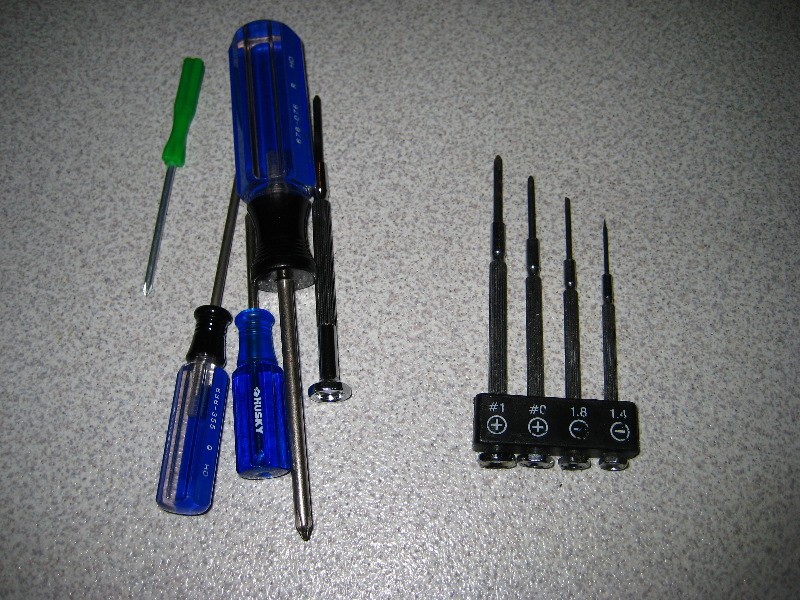
Before you begin, gather these simple tools and supplies:
- A small Phillips head screwdriver
- A small flathead screwdriver (or similar prying tool)
- One CR1616 battery – This is the specific type of battery required for your 2011 Honda Ridgeline key fob. You can find these at most electronics stores, drugstores, and online retailers.
Step-by-Step Battery Replacement
Follow these steps to replace your 2011 Honda Ridgeline Key Fob Battery:
Step 1: Open the Key Fob
Locate the small Phillips head screw on the back of your key fob. Use the Phillips head screwdriver to carefully remove this screw and set it aside in a safe place.
With the screw removed, you can now separate the two halves of the key fob casing. Gently pry apart the clamshell casing. A good starting point is often near the keyring loop area where there might be a small edge or notch. Use your fingers or a small flathead screwdriver to carefully nudge and separate the two halves. Avoid applying excessive force to prevent damage to the casing.
Step 2: Access the Battery Compartment
Once the key fob casing is open, you’ll see the internal components. The battery compartment is housed within a smaller plastic unit that is clipped together.
Use the small flathead screwdriver to gently pry apart these two plastic clips. These are typically located on each end of the unit. Once unclipped, you can separate the two parts of this internal unit to reveal the battery.
Step 3: Replace the Old Battery
With the battery now visible, take note of the orientation of the old battery. Specifically, observe which side is facing up. The CR1616 battery should be installed with the wide side facing down.
Use the flathead screwdriver to carefully pry out the old battery. It might be held in place snugly.
Insert the new CR1616 battery, ensuring it is placed in the correct orientation (wide side down). Push it gently into place until it is secure.
Step 4: Close the Key Fob
Reassemble the internal plastic unit by clipping the two halves back together. Ensure they are securely fastened.
Place the internal unit back into the key fob casing. Carefully align the two halves of the key fob casing and press them together until they snap closed.
Finally, re-insert and tighten the small Phillips head screw on the back of the key fob.
Step 5: Test Your Key Fob
Test the buttons on your key fob to ensure they are working correctly. Try locking and unlocking your 2011 Honda Ridgeline remotely. If everything works as expected, you’ve successfully replaced your key fob battery!
Common Mistakes to Avoid
- Battery Orientation: The most common mistake is inserting the new battery upside down. Always double-check the orientation of the old battery before removing it and ensure the wide side of the new CR1616 battery faces down when installing.
- Forcing the Casing: Be gentle when prying open the key fob casing and the internal unit. Forcing them can cause damage. Take your time and use the tools carefully.
- Losing the Screw: The small Phillips head screw is easy to lose. Keep it in a safe place during the battery replacement process.
Conclusion
Replacing the battery in your 2011 Honda Ridgeline key fob is a simple DIY task that can save you time and money. By following these steps and avoiding common mistakes, you can quickly restore your key fob’s functionality and get back on the road with confidence.