Key fobs are incredibly handy accessories that keep your keys organized and easily accessible. If you’re looking for a quick, fun, and practical sewing project, crafting your own key fob with fabric is a fantastic idea. Not only is it a great way to use up scrap fabric, but it also allows you to personalize your keys or create thoughtful, handmade gifts. Whether you’re a beginner sewer or just looking for a satisfying craft, this step-by-step guide will show you exactly How To Make A Key Fob With Fabric that’s both stylish and functional. Let’s dive into this easy sewing project!
Materials You’ll Need
Before we start, gather these simple supplies:
- Fabric scraps: Choose two coordinating or contrasting fabrics to add visual interest. Cotton fabric works best for durability and ease of sewing.
- Scrap batting: This adds a bit of padding and structure to your key fob, making it more comfortable to hold and use.
- Key ring: Select a key ring of your preferred size and style.
- Sewing machine: A sewing machine will make the process faster and more precise, but you can also hand sew if preferred.
- Matching thread: Choose thread that complements your fabric.
- Scissors or rotary cutter: For precise fabric cutting.
- Iron and ironing board: Essential for creating crisp folds and seams.
- Clips or pins: To hold fabric layers together while sewing.
- Needle for burying threads: A hand sewing needle helps to neatly finish your seams.
Sewing Instructions
Follow these detailed steps to create your own fabric key fob:
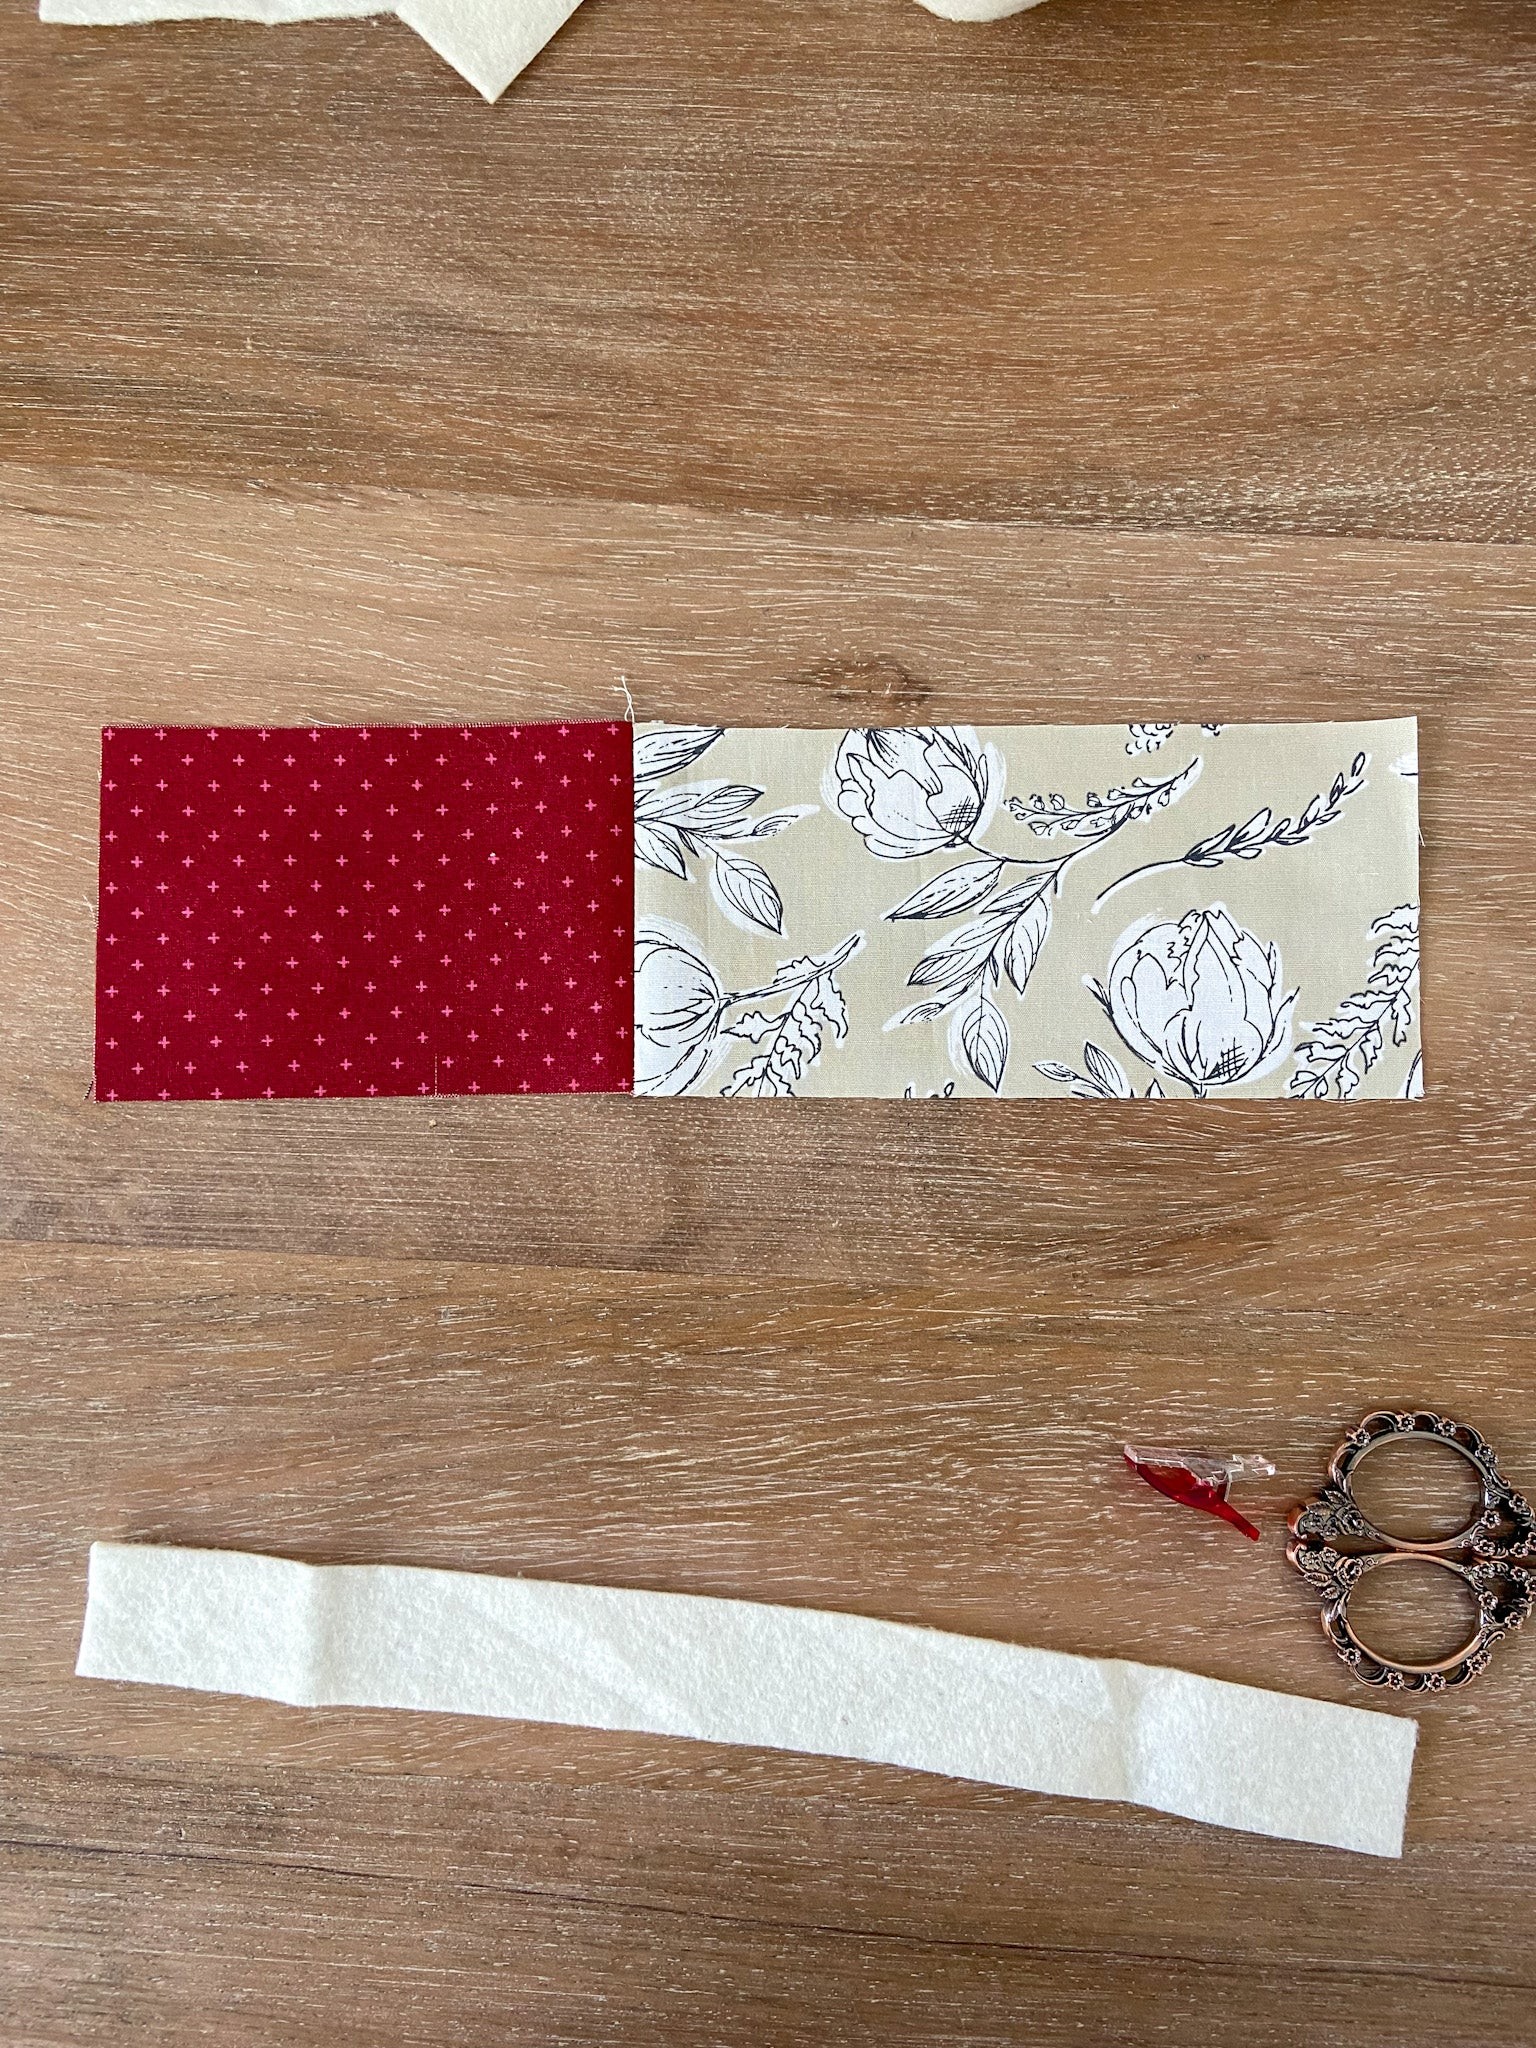
1. Prepare the Fabric Pieces
Start by cutting two pieces of fabric. The dimensions can be adjusted to your preference, but a good starting point is approximately 3 inches wide by 6 inches long for each fabric piece. Place the two fabric pieces right sides together and sew along one of the short ends with a ¼ inch seam allowance. Press the seam open to reduce bulk.
2. Fold the Fabric Lengthwise
Fold the joined fabric piece in half lengthwise, with wrong sides together. Press along the fold to create a center crease. This crease will serve as a guide for the next steps.
3. Insert the Batting
Cut a piece of batting slightly smaller than your fabric piece, about 2.5 inches wide and the length of your folded fabric. Open the folded fabric and place the batting inside, aligning it with the center crease. Ensure there’s approximately a ¼ inch of fabric overhang on each side of the batting.
4. Fold the Bottom Edge
Fold the bottom raw edge of the fabric up and over the batting, pressing along the fold. This creates a clean, finished edge.
5. Fold the Top Edge
Fold the top raw edge down about ¼ inch, overlapping the batting and the folded bottom edge. Press this top fold to create a neat seam.
6. Attach to Key Ring and Secure
Insert the folded fabric strip through the key ring, folding it in half. Use clips to hold the folded edges of the fabric together, ensuring they are aligned and ready for sewing.
7. Fold in Half to Align Raw Ends
Fold the key fob in half at the key ring, bringing the two raw fabric ends together and aligning them.
8. Prepare to Sew the Loop
Slightly unfold the two raw ends so that the entire 3-inch width of the fabric is aligned. Gently move the batting aside, ensuring you won’t sew over it. Pin or clip the fabric layers together securely.
9. Sew the Loop Seam
Sew a ¼ inch seam across the raw edges to create a closed loop. Backstitch at the beginning and end of the seam for added durability.
10. Press the Seam Open
Use your fingers to gently press the seam open. This will help reduce bulk and make the seam lie flatter.
11. Reposition the Batting
Replace the batting pieces back to their original position within the fabric loop. If the batting overlaps at the seam, trim it so the edges butt against each other without overlapping to maintain a smooth finish.
12. Refold and Clip for Topstitching
Fold the fabric back over the batting as it was originally, enclosing the batting neatly. Clip the edges together to prepare for topstitching.
13. Begin Topstitching the Edge
Start topstitching approximately ⅛ inch from the edge around the entire loop. Ensure you leave long thread tails (about 5 inches) at the beginning for burying later. Move the hardware and clips as you sew, maintaining an even seam.
14-17. Bury the Threads for a Clean Finish
To ensure a neat finish without visible backstitching, stop sewing about 2-3 inches from your starting point with the needle down. Gently pull one of the thread tails to bring the bobbin thread to the top side. Tie the needle and bobbin threads together in a knot close to the fabric. Thread a hand sewing needle with both thread tails and insert it close to the knot, bringing it out 1-2 inches away, between the fabric layers, not through all layers. Gently pull the threads to pop the knot underneath the fabric surface. Trim the excess thread tails close to the fabric.
18. Complete Topstitching the Loop
Continue topstitching from where you stopped until you reach the beginning of your seam, overlapping slightly. Bury the threads again using the same method to complete the edge.
19. Position Hardware and Clip
Arrange the key ring hardware in the middle of the accent fabric section of your key fob. Fold the key fob around the hardware and clip it in place, ready for the final seam.
20. Stitch Across the Width
Starting with long thread tails again, stitch across the width of the key fob, close to the hardware. For extra security, stitch forward, backward, and then forward again over the same seam. Bury the thread tails as you did before to finish neatly.
21. Enjoy Your Fabric Key Fob!
Congratulations! You’ve successfully learned how to make a key fob with fabric. Enjoy your handmade accessory or gift it to someone special. These fabric key fobs are not only practical but also a charming way to add a personal touch to everyday items.
Once you start making these, you’ll find they are wonderfully addictive! They make excellent stocking stuffers, teacher gifts, party favors, or just a little something for yourself. Experiment with different fabric patterns and colors to create a variety of key fobs for every occasion.