Have you ever returned to your car after a few days away, only to find the battery completely dead? It’s a frustrating experience, and while a failing battery is often the culprit, sometimes the issue is a parasitic draw. This occurs when electrical components in your vehicle continue to draw power even after the engine is turned off and should be in sleep mode. Identifying and resolving a parasitic draw can save you from unexpected battery drain and the inconvenience of a car that won’t start.
Pinpointing the source of a parasitic draw can be tricky. It could be something as simple as a glove box light that isn’t switching off, a faulty relay, or more complex issues within modern car electronics like GPS systems or aftermarket alarms. Fortunately, you can use a simple tool – a digital multimeter – to perform an Amp Draw Test and identify if a parasitic draw is present.
What You’ll Need for an Amp Draw Test
For this test, a digital multimeter is essential as it provides accurate readings, unlike analog versions which can be less precise. You can find affordable and reliable multimeters suitable for automotive diagnostics online or at most auto parts stores.
Testing for a parasitic draw, often referred to as an amp draw test, involves measuring the electrical current being drawn from your car battery when the engine is off. Here’s a detailed, step-by-step guide on how to use a multimeter to perform this test effectively.
Step-by-Step Guide to Perform an Amp Draw Test
- Vehicle Preparation:
- Begin by parking your vehicle in a safe, well-ventilated location. Ensure you have ample space to work around the car, especially the battery area.
- Turn off all vehicle accessories including headlights, interior lights, the radio, and any aftermarket devices. Make sure all doors are fully closed to simulate normal vehicle shutdown conditions.
- Allow the vehicle to sit undisturbed for at least 20 minutes, and ideally closer to 30-45 minutes. This waiting period is crucial as it allows the car’s computer systems and modules to fully enter their sleep state, giving a more accurate baseline reading.
-
Multimeter Setup:
- Prepare your digital multimeter by setting it to measure Direct Current (DC) Amperes (A).
- Select an appropriate measurement range. If your multimeter is auto-ranging, it will adjust automatically. If not, start with a higher range, typically 10A, to avoid overloading the meter if the draw is unexpectedly high. Many parasitic draws are in the milliampere (mA) range, but starting higher is a safe practice.
-
Disconnect the Negative Battery Cable:
- Open your vehicle’s hood and locate the car battery, identifying the negative terminal, usually marked with a (-) symbol and often a black cable.
- Using a wrench or socket of the correct size, carefully loosen the nut or clamp securing the negative battery cable to the terminal.
- Once loose, detach the negative cable from the battery terminal. Be careful not to let the cable accidentally touch any metal parts of the vehicle as this could create a short circuit.
-
Connect Multimeter in Series:
- This step involves connecting the multimeter in series to measure the current flow.
- Connect the red lead (positive) of your multimeter to the negative battery terminal that you just disconnected the cable from.
- Connect the black lead (negative) of your multimeter to the negative battery cable that you removed from the terminal. The current will now flow from the battery, through your multimeter, and then to the vehicle’s electrical system, allowing you to measure the amperage.
- Monitor Current Draw Reading:
- Observe the reading on your multimeter display. Initially, you might see a higher current reading as the car’s systems momentarily wake up. This is normal.
- Allow a few minutes for the reading to stabilize. A typical acceptable parasitic draw for most modern vehicles is in the range of 20 to 50 milliamperes (mA). However, it’s always best to consult your vehicle’s service manual for the manufacturer’s specific recommended maximum parasitic draw specification.
- Note the stabilized current draw reading. If it’s significantly higher than the specified range, you likely have a parasitic draw issue.
-
Isolate the Circuit Causing the Draw:
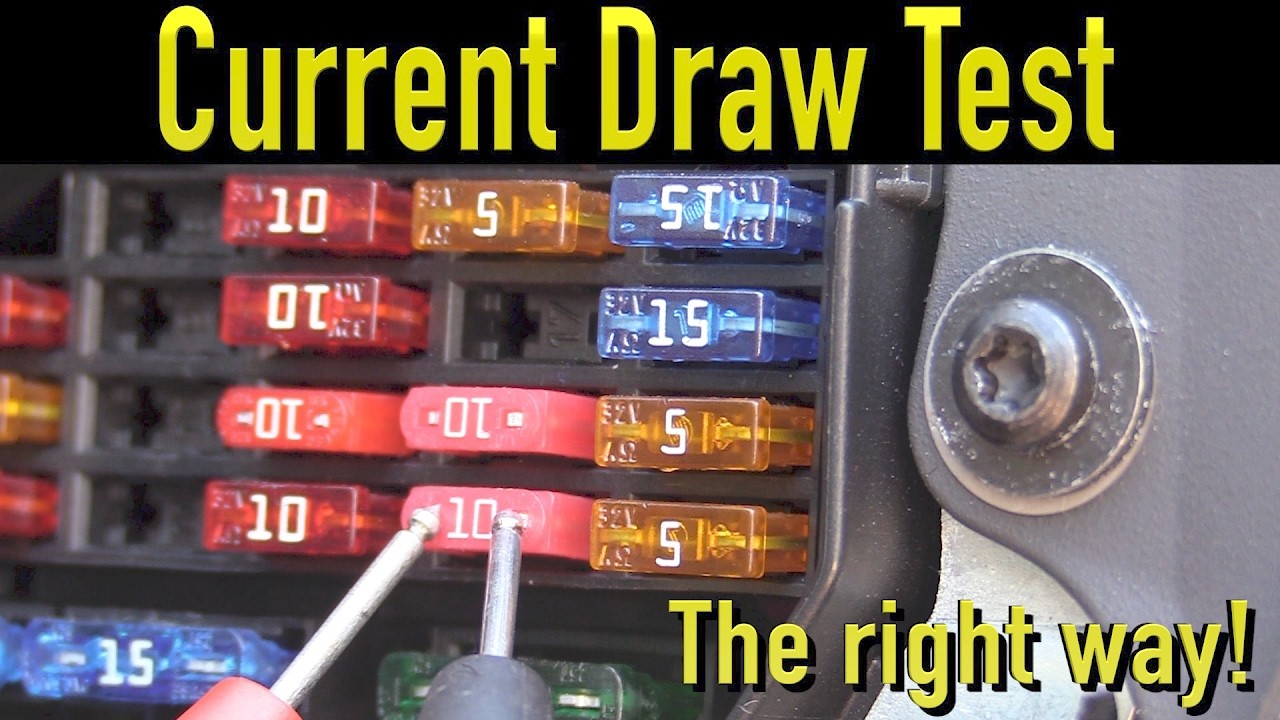
- To pinpoint the source of the excessive amp draw, you’ll need to methodically check circuits by removing fuses, one at a time, from the vehicle’s fuse box(es).
- Locate the fuse box(es), typically found in the engine compartment and/or under the dashboard. Consult your owner’s manual for their exact locations and fuse box diagrams.
- Begin removing fuses one by one. After removing each fuse, observe the multimeter reading. Crucially, wait a few seconds after removing each fuse to see if the amp draw reading changes.
- If the current draw drops significantly when you remove a particular fuse, this indicates that the circuit protected by that fuse is the source of the parasitic drain.
- Keep track of which fuse you remove and whether it affects the multimeter reading. You may want to note down the fuse location and its corresponding circuit from the fuse box diagram.
-
Investigate and Repair the Problem Circuit:
- Once you’ve identified the circuit causing the parasitic draw (through fuse removal), consult your vehicle’s wiring diagrams or repair manual to understand which components and systems are powered by that circuit.
- Inspect these components and their wiring for any signs of damage, corrosion, or malfunction. Common culprits can include lights, relays, modules, or aftermarket accessories improperly installed or failing.
- Depending on your automotive repair skills, you may be able to diagnose and fix the issue yourself. This might involve replacing a faulty component, repairing damaged wiring, or correcting an incorrect installation. If you are not comfortable with electrical troubleshooting, it’s best to seek professional assistance from a qualified automotive technician.
-
Reassemble and Retest:
- After you believe you have resolved the parasitic draw issue, re-install any fuses you removed during the diagnostic process.
- Carefully reconnect the negative battery cable to the negative battery terminal, ensuring it’s securely tightened.
- Perform the amp draw test again, following steps 1-5, to confirm that the parasitic draw has been eliminated or reduced to an acceptable level. If the reading is now within the manufacturer’s specifications, you have successfully resolved the issue.
Performing an amp draw test is a valuable skill for any car owner and can help diagnose and resolve battery drain issues caused by parasitic draws. However, automotive electrical systems can be complex. If you are uncertain at any point during this process, or if you are unable to locate and repair the source of the parasitic draw, it is always recommended to consult a certified automotive technician for professional diagnosis and repair. They have specialized tools and expertise to handle intricate electrical problems effectively.