A dead battery is frustrating, especially when it happens repeatedly. While battery age or alternator issues are common culprits, a parasitic draw could be silently draining your car battery long after you’ve turned off the engine. This insidious electrical leak can be caused by anything from a glove box light that won’t switch off to more complex issues within modern vehicle electronics. Identifying and fixing a parasitic draw is crucial, and having the Best Parasitic Draw Tester is the first step to diagnosing and resolving this problem effectively.
What is a Parasitic Draw and Why Do You Need a Tester?
A parasitic draw is an abnormal electrical current drain that occurs when your car is turned off and should be in a resting state. Modern vehicles rely on a constant power supply to maintain various systems like security alarms, computer memory, and remote locking. However, when this draw becomes excessive, it can deplete your battery, leading to starting problems and shortened battery life.
Pinpointing a parasitic draw can be challenging as it often involves tracing subtle current leaks across various circuits. While visual inspections might catch obvious issues like a constantly lit bulb, many draws are hidden within the complex wiring and electronic modules of today’s cars. This is where a reliable parasitic draw tester becomes indispensable. It allows you to accurately measure the current drain and systematically isolate the faulty circuit responsible.
Choosing the Right Parasitic Draw Tester
While specialized testers exist, a high-quality digital multimeter is often considered the best parasitic draw tester for most DIYers and even professional mechanics. Digital multimeters offer the accuracy and sensitivity needed to measure the small currents associated with parasitic draws, typically in milliamperes (mA).
For this task, an analog multimeter is not recommended due to its lower accuracy and difficulty in reading precise low current values. A good digital multimeter will provide clear, numerical readings, making it easier to diagnose even minute current leaks. Features to look for in a multimeter for parasitic draw testing include:
- DC Amps Measurement: Essential for measuring direct current, which is used in automotive electrical systems.
- Low Current Range (milliamperes – mA): Crucial for detecting small parasitic draws. A range that goes down to milliamps is necessary.
- Accuracy: Choose a multimeter with good accuracy in the low current ranges to ensure reliable readings.
- Robustness and Safety: An automotive environment can be tough, so a durable multimeter with overload protection is a good investment.
Step-by-Step Guide: How to Use a Multimeter as a Parasitic Draw Tester
Here’s how to use your digital multimeter to perform a parasitic draw test effectively:
- Vehicle Preparation is Key:
- Park your vehicle in a safe, open, and well-ventilated area.
- Ensure absolutely all lights, accessories (radio, phone chargers), and electrical systems are completely switched off. Double-check the glove box and dome lights.
- Crucially, allow your vehicle to sit undisturbed for at least 20-30 minutes. This waiting period is vital for all electronic control units (ECUs) and modules to fully enter their sleep or standby modes, reflecting a true resting state current draw.
-
Multimeter Setup:
- Turn on your digital multimeter and select the DC Amperes (A) measurement function.
- Set the measurement range appropriately. If you are unsure of the expected draw, start with the highest amp range available on your multimeter (often 10A or 20A) and then reduce it as needed for a more precise reading. This prevents overloading the meter if there’s a significant draw.
-
Safely Disconnect the Negative Battery Cable:
- Open the hood and locate your car battery.
- Using the correct size wrench or socket, carefully loosen the nut or bolt on the negative (-) battery cable clamp.
- Remove the negative cable from the battery terminal and securely tuck it aside, ensuring it does not accidentally touch the negative battery post or any metal part of the vehicle.
-
Connect the Multimeter in Series:
- This step creates a circuit where all current flowing from the battery must pass through the multimeter.
- Connect the red lead of your multimeter to the negative battery terminal.
- Connect the black lead of your multimeter to the disconnected negative battery cable clamp. You are now bridging the gap you created by disconnecting the cable.
-
Reading and Interpreting the Current Draw:
- Observe the multimeter display. Initially, you might see a higher reading as modules briefly wake up. This is normal.
- Wait for a few minutes (5-10 minutes) for the reading to stabilize. A normal parasitic draw for most modern vehicles should be in the range of 20-50 milliamperes (mA). However, always consult your vehicle’s service manual for the manufacturer’s specific acceptable parasitic draw specification.
- Record the stabilized current draw reading. If it’s significantly higher than the specified range, you have confirmed a parasitic draw.
-
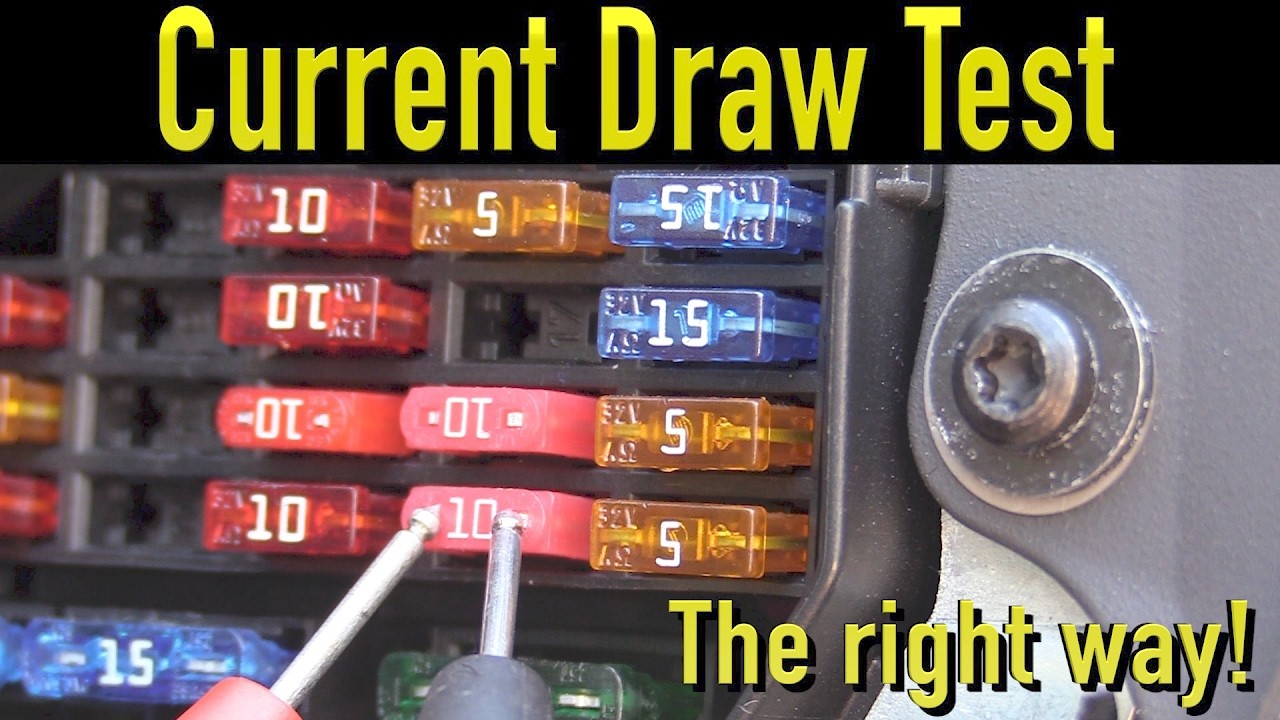
Isolating the Source of the Parasitic Draw:
- This is a systematic process of elimination using the vehicle’s fuses.
- Locate the fuse box(es) in your vehicle (usually under the dashboard, in the engine bay, or both).
- Begin removing fuses one at a time. As you remove each fuse, carefully watch the multimeter reading.
- Crucially, wait a few seconds after removing each fuse to see if the current draw reading drops. Sometimes the change is not instantaneous.
- Important: Keep track of which fuse you remove and its original location.
- If, upon removing a specific fuse, the current draw on the multimeter drops dramatically or falls within the acceptable range, then the circuit protected by that fuse is the likely source of your parasitic draw.
- Consult your vehicle’s owner’s manual or a wiring diagram to identify all components and systems powered by that specific circuit/fuse.
-
Investigate and Repair the Faulty Circuit:
- Once you have identified the circuit causing the excessive draw, thoroughly inspect all components and wiring associated with that circuit. Look for:
- Malfunctioning accessories (interior lights, aftermarket electronics).
- Faulty relays or modules.
- Damaged or corroded wiring.
- Perform necessary repairs, which might involve replacing a component, fixing a wiring short, or addressing a module issue. If you are not comfortable with auto electrical work, it’s best to seek professional assistance from a qualified automotive technician at this stage.
- Once you have identified the circuit causing the excessive draw, thoroughly inspect all components and wiring associated with that circuit. Look for:
-
Final Re-test and Reassembly:
- After completing repairs, re-install all removed fuses.
- Reconnect the negative battery cable securely.
- Repeat the parasitic draw test from step 1 to 5 to confirm that the current draw is now within the acceptable range.
- Ensure all connections are tight and secure.
By using a digital multimeter as your best parasitic draw tester and following these steps methodically, you can effectively diagnose and resolve battery drain issues caused by parasitic draws, saving yourself from repeated jump starts and battery replacements. Remember, if you are ever uncertain or uncomfortable with any step, seeking professional help is always the safest and most reliable course of action.