Paracord Key Fobs are not just practical accessories for keeping your keys organized; they are also a fantastic way to express your creativity and personal style. Among the many variations, the golf ball paracord key fob stands out as a unique and eye-catching design. This tutorial will guide you through the process of creating your own golf ball paracord key fob, combining durability with a touch of sporty flair. These key fobs are not only fun to make but also offer a wide range of customization options, making each piece uniquely yours.
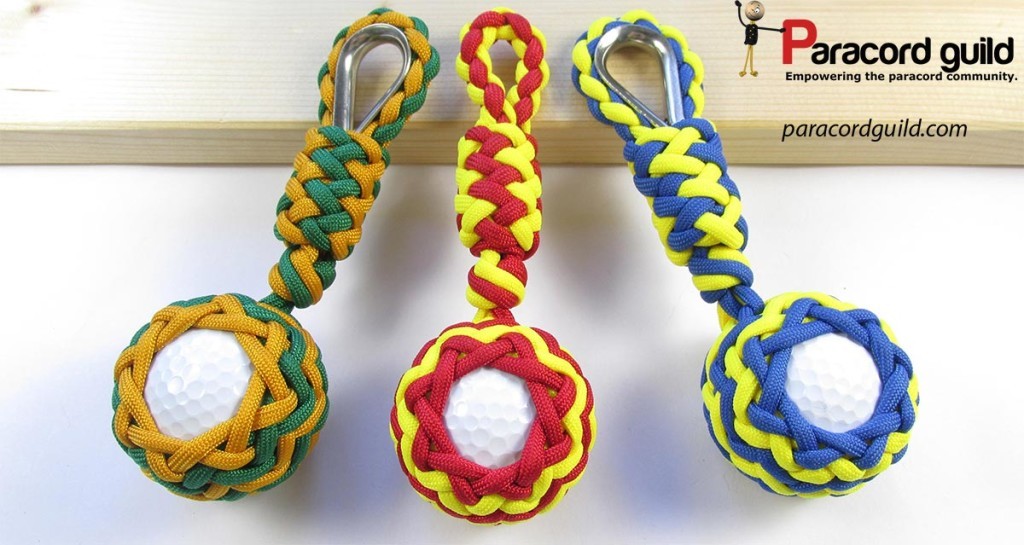
The beauty of paracord key fobs lies in their versatility. You can experiment with different knots to cover the golf ball, such as pineapple knots, gaucho knots, or even monkey fist knots. Every element of this key fob can be adapted with various knotting techniques, allowing for endless creative possibilities. Furthermore, playing with color combinations can dramatically change the look of your key fob. The sheer number of color choices available can sometimes make it challenging to settle on just one design! Here are a few color combinations to inspire your next project.
Creating these paracord key fobs is surprisingly quick once you master the basic techniques. You’ll be pleased to know that this project requires only a minimal amount of cord, making it an economical and satisfying craft. Let’s dive into the materials you’ll need to get started on your own golf ball paracord key fob.
Supplies You’ll Need
To embark on this crafting journey, gather the following supplies:
- Paracord 550: You’ll need paracord in two different colors to create a visually appealing contrast. Approximately 10 feet of each color should suffice for a single key fob. You can find a wide selection of colors at Paracord 550 on Amazon.
- Golf Ball: The core of your key fob! Any standard golf ball will work perfectly. Find affordable options at Golf Balls on Amazon.
- Lacing Needle (Fid): A lacing needle, or fid, is essential for neatly weaving the paracord. Alternatively, you can craft your own fid following instructions available at How to Make a Paracord Fid. You can also purchase one at Lacing Needle on Amazon.
- Rope Thimble (Optional): A rope thimble can add extra durability to the loop of your key fob, but it’s not strictly necessary. Find rope thimbles at Rope Thimble on Amazon.
- Lighter: Used for melting the ends of the paracord to prevent fraying.
- Scissors: For precise cutting of the paracord.
Crafting Your Golf Ball Paracord Key Fob: The Tutorial
The process involves a series of knotting techniques that, once learned, are quite straightforward. We begin by tying a 9L8B Turk’s head knot as the foundation around the golf ball. Then, we enhance this knot with a pineapple interweave to add texture and visual appeal.
For visual learners, a comprehensive video tutorial is available below, demonstrating each step clearly. However, let’s also outline the basic steps in writing to guide you through the process.
-
Starting with the Turk’s Head Knot: The initial step is to create a 9L8B Turk’s head knot directly onto the golf ball. This knot forms the base structure for the key fob. For a detailed visual guide on tying this knot, refer to this helpful video tutorial: 9L8B Turk’s Head Knot Tutorial.
-
Adding the Pineapple Interweave: Next, we integrate a pineapple interweave over the Turk’s head knot. This layer adds complexity and a distinctive textured appearance to your paracord key fob. Learn how to execute this interweave by watching: Pineapple Interweave Tutorial. Ensure the pineapple knot is snugly tightened around the golf ball, concealing any markings for a clean finish.
-
Incorporating the Matthew Walker Knot: After completing the pineapple interweave, carefully weave the cord ends into the center of the knot structure. Then, tie a multi-strand Matthew Walker knot to secure and finish the base. This knot adds a robust and decorative end to the fob. A tutorial for this knot can be found here: Multi Strand Matthew Walker Knot Tutorial.
-
Creating the Loop with a 4 Strand Round Braid: To form the key fob loop, braid the remaining ends using a 4 strand round braid. Continue braiding until you achieve your desired loop length. This braid is not only strong but also adds a refined look to the key fob. Follow this tutorial to master the braid: 4 Strand Round Braid Tutorial.
-
Finalizing the Loop and Adding a Decorative Knot: Join the loop by carefully threading the ends back into the braid, ensuring a seamless connection. For an added touch of elegance, cover the joined section of the braid with a decorative knot. In this example, a gaucho fan knot is used, providing a stylish finish.
Full Video Tutorial:
For a complete visual walkthrough of these steps, watch the detailed video tutorial below. It provides a clear demonstration of each knot and technique, making it easier to follow along and create your own paracord golf ball key fob.
[Insert Video Tutorial Here – If embedding a video is possible, otherwise just mention to refer to the original article for video link]
Conclusion
Congratulations on crafting your unique golf ball paracord key fob! This project showcases the versatility and aesthetic appeal of paracord crafts. With practice, you can explore more intricate knotting patterns and color combinations to create a variety of paracord key fobs, each reflecting your personal style. Enjoy your durable, stylish, and handmade accessory, or create them as thoughtful and personalized gifts for friends and family. Start experimenting and let your creativity guide you in the world of paracord crafting!