Removing Parallels Desktop from your macOS system is a straightforward process, similar to deleting most applications on a Mac. You don’t need a special uninstaller; typically, dragging the application to the Trash is sufficient. Whether you’re aiming to free up disk space, troubleshoot software conflicts, or simply no longer require Parallels Desktop, this guide will walk you through the necessary steps to effectively delete Parallels Desktop. It’s important to note that if you are upgrading to a newer version of Parallels Desktop, uninstalling the current version is usually unnecessary as the installation process will automatically handle the replacement.
Important Note: Uninstalling Parallels Desktop through these steps will not automatically delete your virtual machines. Virtual machines, which contain your Windows files and applications (or other operating systems), are stored separately. If your goal is to completely remove all Parallels Desktop related data, including your virtual machines, you will need to delete them separately. Instructions for removing virtual machines can be found in KB 5029.
Step-by-Step Guide to Uninstalling Parallels Desktop
Follow these instructions to uninstall Parallels Desktop from your Mac:
-
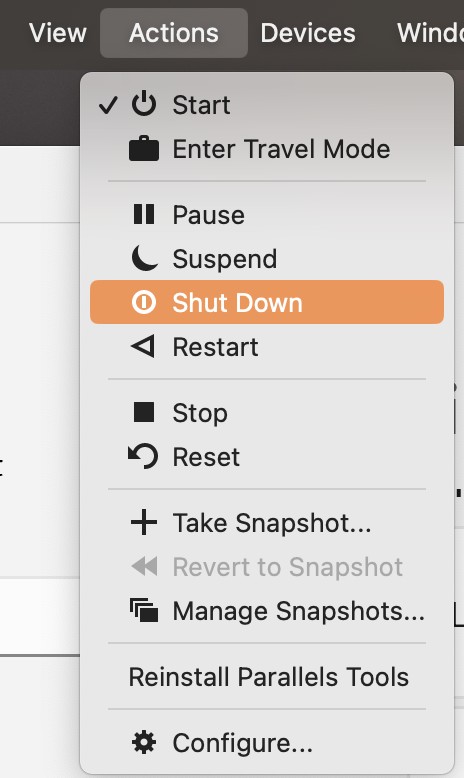
Shut Down Your Virtual Machine and Quit Parallels Desktop.
Before you begin the uninstallation process, it’s crucial to ensure that both Parallels Desktop and any running virtual machines are completely shut down.
First, if you have a virtual machine running, shut it down properly from within the guest operating system (e.g., Windows). After the virtual machine is shut down, quit the Parallels Desktop application itself. You can do this by clicking on “Parallels Desktop” in the menu bar and selecting “Quit Parallels Desktop”. Ensure that the application icon is no longer visible in your Dock.
-
Move Parallels Desktop to the Trash.
Next, open your Applications folder. The easiest way to do this is to click on Finder in your Dock, and then select Applications from the sidebar.
Locate the Parallels Desktop application icon in the Applications folder. Click and drag the Parallels Desktop icon to the Trash icon in your Dock. Alternatively, you can right-click on the Parallels Desktop icon and select “Move to Trash” from the context menu.
-
Empty the Trash.
Finally, to completely uninstall Parallels Desktop, you need to empty the Trash. Right-click on the Trash icon in your Dock and select “Empty Trash”. A confirmation dialog will appear; click “Empty Trash” to proceed. This action will permanently delete Parallels Desktop from your Mac.
Managing File Associations After Uninstall
After you delete Parallels Desktop, you might notice that some files are still associated with the Parallels Desktop application. This is because macOS remembers file associations. If you want to change the default application used to open these files permanently, follow these steps:
-
Open Finder and Select a File.
Click the Finder icon in your Dock to open a new Finder window. Then, select any file type that was previously associated with Parallels Desktop (e.g., a virtual machine configuration file, if you haven’t deleted your VMs yet).
-
Get File Info.
Select File > Get Info from the menu bar at the top of your screen. You can also right-click on the file and choose Get Info from the context menu. This will open an Info window for the selected file.
-
Expand “Open with” Section.
In the Info window, find the “Open with” section and click the small arrow to expand it.
-
Choose a New Default Application.
Click on the dropdown menu currently showing Parallels Desktop (or potentially another application). A list of available applications will appear. Select the application you want to use as the default for opening files of this type.
-
Change All File Types (Optional).
If you want to apply this change to all files of the same type, click the Change All… button. A confirmation prompt will appear asking if you are sure you want to change all similar documents to open with the selected application. Click “Continue” to confirm if you want to apply the change to all files of this type.
By following these steps, you can ensure Parallels Desktop is fully uninstalled and manage file associations as needed, completing the process to delete Parallels Desktop from your macOS. Remember to separately address virtual machine deletion if complete removal of all Parallels-related components is desired.