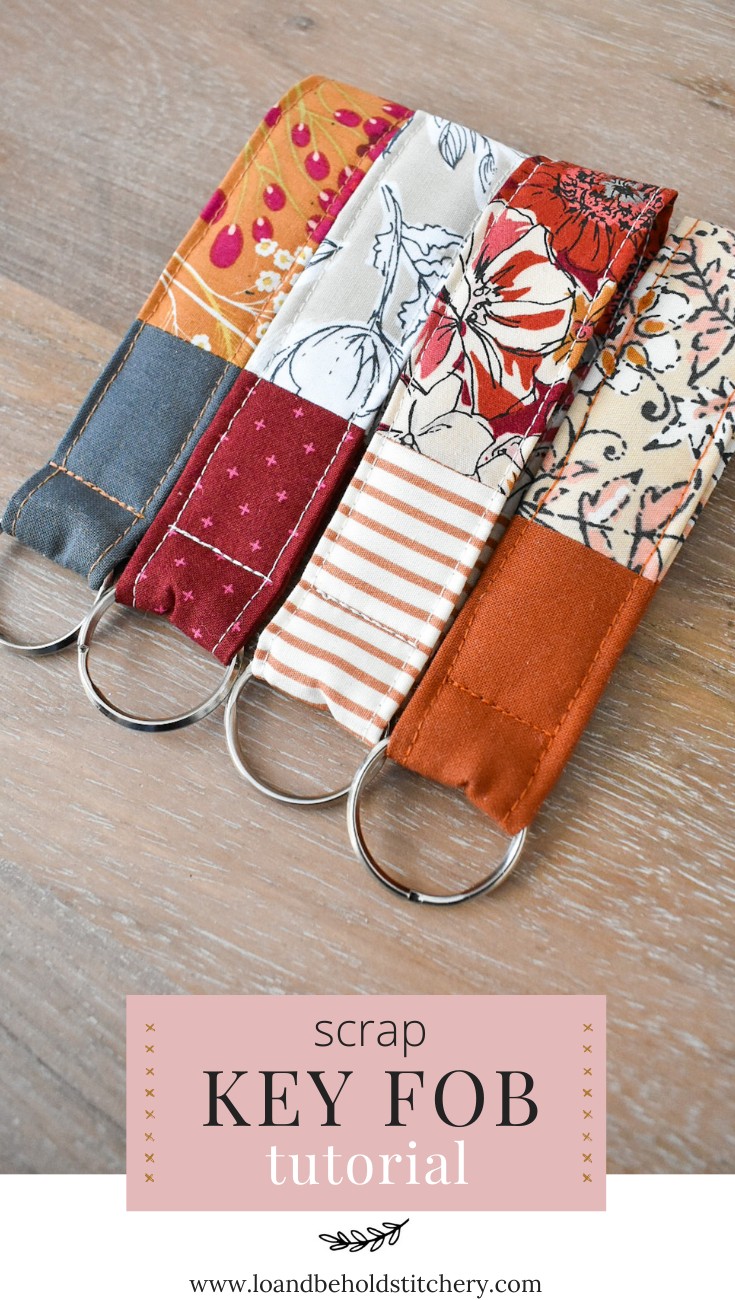
Key fobs are fantastic little projects that are both fun and incredibly useful. If you’re looking for a satisfying sewing endeavor that you can complete in under an hour, you’ve come to the right place! In this tutorial, we’ll guide you through each step to sew your own key fob using scrap fabrics and basic sewing supplies. These charming accessories are perfect for using up leftover materials and make thoughtful, personalized gifts for teachers, friends, or anyone on your list. Let’s gather our supplies and get started on this rewarding craft!
Here’s everything you’ll need to sew your own stylish key fob:
Materials You Will Need
- Two pieces of fabric scraps (approximately 3″ x 6″ each)
- Scrap batting (approximately 3″ x 6″)
- Key fob hardware and key ring
- Sewing machine
- Thread
- Scissors or rotary cutter
- Iron
- Clips or pins
Step-by-Step Sewing Instructions
Follow these simple sewing instructions to create your own key fob:
Step 1: Prepare the Fabric Pieces
Place your two fabric pieces right sides together. Sew along both short ends with a ¼” seam allowance. This will create a loop of fabric. Press the seam open to reduce bulk and ensure a flat finish.
Step 2: Fold and Press the Fabric
Fold the fabric loop in half lengthwise, with wrong sides together. Press along the long edge to create a center crease. This crease will serve as a guide for the batting placement.
Step 3: Insert the Batting
Open the folded fabric and place the batting inside, aligning it with the center crease. Center the batting so there’s about ¼” of fabric extending beyond the batting on each side. This overlap allows for a clean fabric edge when folding.
Step 4: Fold the Bottom Edge
Fold the bottom long edge of the fabric up and over the batting. Press along this folded edge to create a crisp crease. This fold encases the batting and starts to shape the key fob.
Step 5: Fold the Top Edge
Fold the top long edge of the fabric down about ¼” over the batting and the previous fold. Press this top edge to create a neat, finished edge. You are now encasing the batting completely within the fabric folds.
Step 6: Attach Key Fob Hardware
Insert the folded fabric into the key fob hardware, ensuring it’s centered. Use clips to hold the folded fabric edges together, making sure everything is aligned and ready for sewing.
Step 7: Fold in Half and Align Ends
Fold the key fob in half at the hardware, aligning the raw fabric ends. This prepares the ends for sewing together to create a closed loop.
Step 8: Prepare to Sew the Loop Closure
Slightly unfold the raw ends, aligning about 3″ of the fabric. Gently move the batting out of the seam allowance area to avoid sewing through it. Pin the fabric layers together to secure them for sewing the loop closed.
Step 9: Sew the Loop Closed
Sew a ¼” seam across the aligned raw ends. This seam will close the loop and create a continuous fabric strip for the key fob.
Step 10: Press Seam Open
Use your fingers to carefully press the seam open along the newly sewn loop. This reduces bulk and helps the seam lay flat.
Step 11: Reposition Batting
Return the batting to its original position inside the fabric loop. If the batting pieces overlap after sewing the loop, trim them so they butt against each other without overlapping for a smoother finish.
Step 12: Refold and Clip
Fold the fabric back over the batting as it was originally, encasing the batting within the fabric folds. Clip the edges together to hold them in place for the final stitching.
Step 13: Topstitch the Edge
Prepare your sewing machine with a bobbin thread brought up through the needle plate, leaving about 5″ of thread tail. Begin topstitching about ⅛” from the edge around the entire loop of the key fob. Remove clips as you sew, carefully maneuvering around the hardware.
Steps 14-17: Bury Threads for a Clean Finish
To ensure a clean, professional finish without backstitching, stop sewing about 2-3 inches before your starting point. Gently pull one thread to bring the bobbin thread to the top side. Tie the needle and bobbin threads in a knot close to the fabric. Thread a needle with these knotted threads and insert it near the knot, bringing it out about 1-2 inches away, between the fabric layers. Pull gently to pop the knot under the fabric surface and trim the excess thread. Continue stitching to close the gap and repeat the thread burying process at the end of this seam.
Step 18: Repeat Topstitching on the Other Edge
Repeat steps 13-17 to topstitch along the other long edge of the key fob, ensuring both edges are neatly finished.
Step 19: Center Hardware and Clip
Arrange the key fob hardware so it’s centered on the fabric. Clip the fabric around the hardware to prepare for the final securing stitch.
Step 20: Secure the Hardware
Starting with 5″ thread tails as before, stitch across the width of the key fob, close to the hardware. For extra security, stitch forward, backward, and then forward again. Bury the thread tails as described in steps 15-16 for a clean finish.
Step 21: Enjoy Your New Key Fob!
Congratulations! You’ve successfully sewn your own key fob. These quick and easy projects are incredibly addictive to make, and you’ll find yourself creating them for every set of keys you own!
These charming key fobs are not only practical but also a fantastic way to personalize your keys or create thoughtful, handmade gifts. Get creative with your fabric choices and enjoy the process of sewing these delightful accessories!