Maintaining your vehicle’s braking system is paramount for safety, and a critical aspect of this maintenance is bleeding your brakes. Over time, air can infiltrate the brake lines, leading to a spongy brake pedal and reduced braking efficiency. Traditionally, bleeding brakes was a two-person job, often cumbersome and time-consuming. However, the advent of vacuum pump brake bleeding kits has revolutionized this process, making it a simpler, faster, and more efficient task, even for DIY enthusiasts.
This comprehensive guide delves into the world of vacuum pump brake bleeding, explaining why it’s essential, how it works, and providing a step-by-step tutorial to help you master this technique. Whether you’re a seasoned mechanic or a beginner, understanding and utilizing a vacuum pump for bleeding your brakes can significantly improve your car maintenance skills and ensure optimal braking performance.
Why Brake Fluid Changes are Crucial for Optimal Performance
Brake fluid is the lifeblood of your car’s braking system, responsible for transmitting the force from your foot on the brake pedal to the brake calipers at each wheel. However, brake fluid is hygroscopic, meaning it readily absorbs moisture from the atmosphere. While the braking system is designed to be sealed, over time, moisture inevitably finds its way in.
This moisture contamination poses several significant problems. Firstly, water has a much lower boiling point than brake fluid. Under heavy braking, especially in demanding situations, the temperature within the braking system can rise dramatically. If there’s water in your brake fluid, it can boil and vaporize, creating air bubbles within the lines. These air bubbles are compressible, unlike brake fluid, leading to a loss of hydraulic pressure. This results in a soft or “spongy” brake pedal feel and significantly reduced braking power – a potentially dangerous situation.
Secondly, contaminants and moisture within the brake fluid can wreak havoc on the internal components of your braking system. These contaminants can corrode metal parts and degrade rubber seals within the master cylinder, calipers, and wheel cylinders. The original article poignantly illustrates this point with a personal anecdote: a neglected brake fluid flush in a car with over 200,000 miles resulted in severely contaminated fluid that destroyed the seals in the master cylinder, necessitating a costly replacement beyond just a simple fluid change. Regular brake fluid flushes prevent such issues, saving you money and ensuring the longevity of your braking system components.
The Superiority of Vacuum Pump Brake Bleeding: Say Goodbye to the Two-Person Struggle
For years, the traditional method of bleeding brakes involved the “two-person pedal-pump” technique. This method requires one person to repeatedly pump the brake pedal while another person opens and closes the bleeder valves at each wheel. Anyone who has attempted this method, as the original author vividly recalls from childhood memories, knows it can be a frustrating and inefficient process, often filled with miscommunication and inconsistent pedal pressure.
Vacuum pump brake bleeding eliminates the need for a second person and the pedal-pumping hassle altogether. A vacuum pump creates suction at the bleeder valve, drawing out old brake fluid and air from the system. This method is significantly more efficient, allowing you to bleed your brakes quickly and effectively by yourself.
Vacuum pumps for brake bleeding come in various forms. Manual hand-operated vacuum pumps are available, offering a portable and affordable option. However, pneumatic vacuum pumps, which connect to an air compressor, offer even greater ease and speed. These pneumatic pumps provide a consistent and powerful vacuum, making the bleeding process even faster and more thorough. As highlighted in the original article, using an air-compressor-powered vacuum pump can drastically reduce the time needed for a brake fluid flush, potentially cutting it down to a third of the time compared to the traditional two-person method. This efficiency is a game-changer for both professional mechanics and DIY car enthusiasts looking to streamline their maintenance routines.
Step-by-Step Guide: Mastering Vacuum Pump Brake Bleeding
Bleeding your brakes with a vacuum pump is a straightforward process. However, safety and meticulousness are key. Follow these steps carefully for a successful brake fluid flush.
Safety First: Essential Precautions
Brake fluid is corrosive and can damage painted surfaces and irritate skin. Always wear safety glasses and nitrile gloves when handling brake fluid. Work in a well-ventilated area. Have shop towels readily available to clean up any spills immediately.
Tools and Materials You’ll Need:
- Vacuum Pump Brake Bleeding Kit: Choose a pneumatic or manual vacuum pump kit. These kits typically include the vacuum pump, collection bottle, hoses, and adapters.
- Wrench or Socket: Correct size to open and close the bleeder valves on your vehicle’s calipers. Consult your vehicle’s repair manual for the correct size.
- Jack and Jack Stands: To safely lift and support your vehicle.
- Wheel Chocks: To prevent the vehicle from rolling.
- Brake Fluid: Purchase the correct type of brake fluid for your vehicle. This information is usually found in your owner’s manual or on the brake fluid reservoir cap (e.g., DOT 3, DOT 4). Have at least two bottles on hand.
- Brake Parts Cleaner: For cleaning up any spills and the bleeder valves.
- Turkey Baster or Fluid Extractor (Optional): For removing old brake fluid from the master cylinder reservoir.
- Clear Tubing (If not included in kit): To fit snugly over the bleeder valve if the kit’s tubing is not suitable.
Step-by-Step Bleeding Process:
-
Prepare Your Vehicle and Workspace:
- Park your vehicle on a level, stable surface. Engage the parking brake and use wheel chocks behind the rear wheels for added safety.
- Gather all your tools and materials and have them within easy reach.
- Consult your vehicle’s repair manual for the recommended brake bleeding sequence. Typically, you start with the wheel furthest from the master cylinder and work your way closer. (e.g., Rear Passenger -> Rear Driver -> Front Passenger -> Front Driver).
- Using a floor jack, lift the vehicle at the designated jacking points. Securely support the vehicle with jack stands. Never work under a vehicle supported only by a jack.
- Remove the wheel of the first brake you will be bleeding.
-
Assemble the Vacuum Bleeder and Locate Bleeder Ports:
- Assemble your vacuum bleeder kit according to the manufacturer’s instructions. This usually involves attaching the hose to the vacuum pump and the collection bottle.
- If using a pneumatic vacuum pump, connect it to your air compressor hose. Ensure your air compressor is turned on and set to the appropriate pressure (check your vacuum pump instructions, typically around 90 PSI).
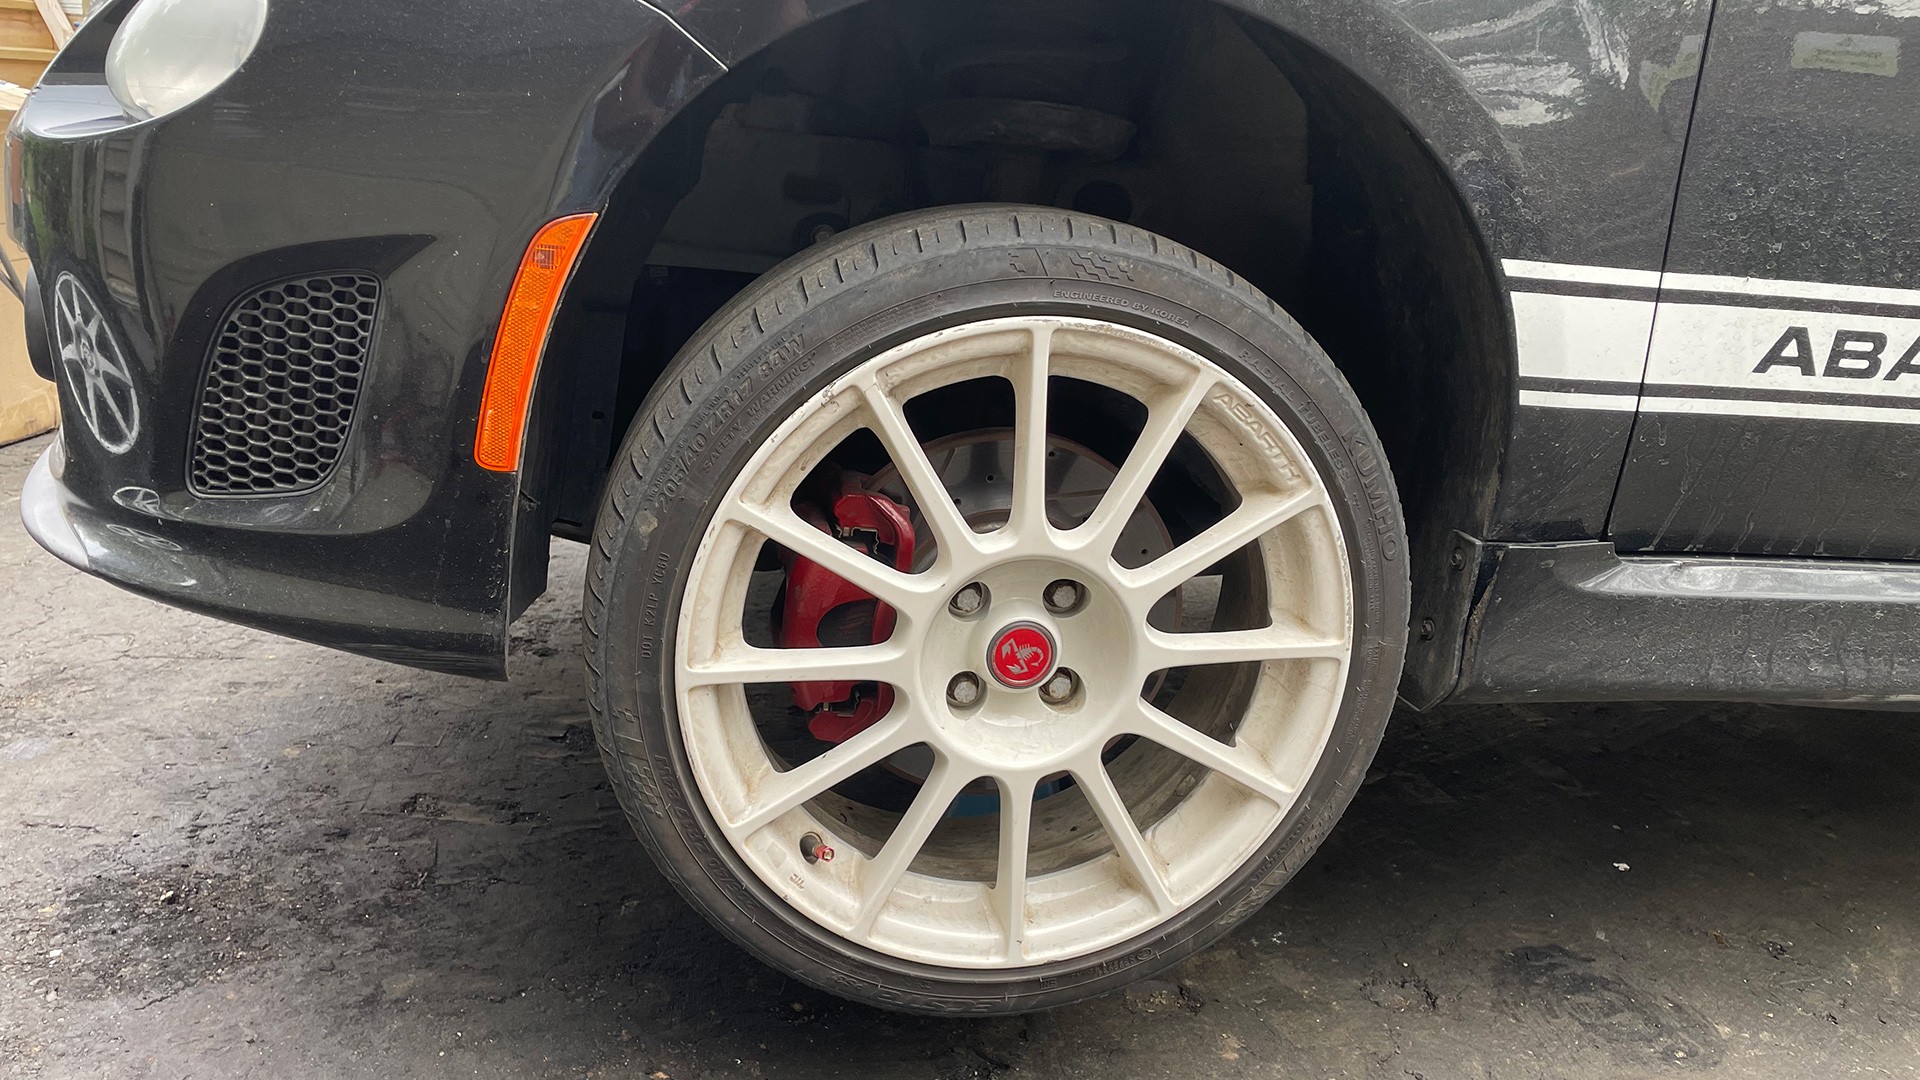
- Locate the bleeder port on the brake caliper. It’s usually a small nipple with a rubber dust cap, located on the rear side of the caliper. Remove the dust cap to expose the bleeder screw.
-
Connect the Vacuum Hose to the Bleeder Port:
- Start with the wheel furthest from the master cylinder. As mentioned, this is usually the rear passenger side.
- Ensure the collection canister on your vacuum pump is tightly sealed to create a proper vacuum.
- Attach the vacuum hose from your bleeder kit securely to the bleeder port. You may need to use an adapter from your kit or a piece of clear tubing to ensure a snug, airtight fit over the bleeder valve.
-
Drain and Refill the Master Cylinder Reservoir:
- Open the hood and locate the brake fluid reservoir. It’s usually a translucent plastic container near the master cylinder, often marked with a brake symbol.
- Before you start bleeding, it’s essential to remove as much old brake fluid from the reservoir as possible. Use a turkey baster or fluid extractor to siphon out the old fluid and dispose of it properly (brake fluid is hazardous waste).
- Refill the reservoir with fresh brake fluid to the “MAX” fill line. Keep the reservoir cap loose or slightly ajar to allow air to escape as fluid is drawn out during bleeding, but keep it positioned on top to prevent debris from falling in.
- Crucially, monitor the brake fluid reservoir level throughout the bleeding process. Never let the reservoir run dry. If the fluid level drops too low and air enters the master cylinder, you will have to bleed the entire system again from scratch. Keep topping off the reservoir with fresh fluid as the level decreases.
-
Flush the Brakes:
- Using your wrench or socket, carefully loosen the bleeder screw on the brake caliper about a quarter to half a turn. Do not loosen it too much, or air can leak in around the threads.
- Activate your vacuum pump. If using a pneumatic pump, gently squeeze the trigger. If using a manual pump, follow the pump’s operating instructions.
- You will see old brake fluid being drawn through the clear hose and into the collection bottle. Observe the fluid being extracted. Initially, it will likely be dark and discolored.
- Continue pumping and extracting fluid until you see fresh, clean brake fluid flowing through the hose. The new fluid will typically be a light amber or clear color, depending on the type.
- Continuously monitor the brake fluid reservoir and add fresh fluid as needed to prevent it from emptying.
- Bleed each bleeder valve until you are confident that all the old fluid has been replaced with new, clean fluid.
-
Close the Bleeder Valve:
- Once you see clean fluid flowing and you’ve bled a sufficient amount (typically a small collection bottle’s worth per wheel), stop operating the vacuum pump.
- Before releasing the vacuum pump hose, tighten the bleeder screw to the manufacturer’s specified torque (if known, otherwise, snug it down firmly but do not overtighten and risk stripping it).
- Remove the vacuum hose from the bleeder port.
- Wipe up any spilled brake fluid with a shop towel and spray the bleeder valve area with brake parts cleaner.
- Reinstall the dust cap on the bleeder valve to protect it from dirt and debris.
-
Repeat for Remaining Wheels and Final Checks:
- Reinstall the wheel you just bled.
- Move to the next wheel in the recommended bleeding sequence and repeat steps 2-6.
- After bleeding all four wheels (or however many brakes your vehicle has), double-check the brake fluid reservoir level and top it off to the “MAX” line if necessary.
- Carefully remove the jack stands and lower the vehicle to the ground.
- Test your brakes thoroughly before driving in traffic. Pump the brake pedal several times. It should feel firm and solid, not spongy. Take a slow test drive in a safe, open area to ensure your brakes are functioning correctly and that the brake pedal feels normal.
Troubleshooting & Tips for Efficient Vacuum Pump Brake Bleeding
-
No Fluid Flow: If you are not getting any fluid flow when using the vacuum pump, check the following:
- Ensure your vacuum pump is functioning correctly and creating suction.
- Verify that the collection bottle and hose connections are airtight.
- Make sure the bleeder screw is actually loosened enough.
- Check for any kinks or obstructions in the vacuum hose.
- In rare cases, a bleeder valve might be clogged.
-
Maintaining a Vacuum Seal: A good seal at the bleeder valve is crucial for effective vacuum bleeding. If you are struggling to get a good seal with the provided adapters, try using a small piece of clear tubing that fits snugly over the bleeder valve and then connects to the vacuum hose.
-
Choosing the Right Vacuum Pump: For occasional DIY use, a manual vacuum pump can be sufficient. However, for faster and more frequent brake bleeding, especially if you have multiple vehicles or work on cars regularly, a pneumatic vacuum pump is a worthwhile investment.
-
Determining When Bleeding is Complete: The visual cue of clean, new fluid flowing through the hose is the primary indicator. Bleed a sufficient amount of fluid at each wheel to ensure you’ve flushed out all the old fluid from the caliper and brake lines. A small collection bottle’s worth per wheel is generally a good guideline.
Frequently Asked Questions (FAQs) about Brake Bleeding
Q: How often should I replace my brake fluid?
A: While specific intervals vary by vehicle manufacturer and driving conditions, a general recommendation is to replace your brake fluid every two to three years, or every 24,000 to 36,000 miles. Consult your vehicle’s owner’s manual for the manufacturer’s recommended schedule. If you drive in harsh conditions, such as frequent stop-and-go traffic or mountainous terrain, more frequent changes may be beneficial.
Q: Do I absolutely have to use a vacuum pump to bleed my brakes?
A: No, you don’t have to. The traditional two-person pedal-pump method can still be used. However, vacuum pump brake bleeding offers significant advantages in terms of ease, speed, and efficiency. It eliminates the need for a helper and simplifies the process, making it a much more convenient option, especially for solo DIYers.
Q: Do I need an air compressor to use a vacuum pump bleeder?
A: Not necessarily. There are manual hand-operated vacuum pump bleeders available that do not require an air compressor. However, pneumatic vacuum pumps, which utilize compressed air, offer a more powerful and consistent vacuum, making the bleeding process faster and often more effective. If you already own an air compressor, a pneumatic vacuum bleeder is an excellent choice. For those without an air compressor, a manual vacuum pump is still a significant improvement over the traditional two-person method.
Conclusion: Embrace the Ease of Vacuum Pump Brake Bleeding
Vacuum pump brake bleeding is a game-changing technique for anyone who maintains their vehicle’s braking system. It simplifies a traditionally cumbersome task, making it faster, more efficient, and achievable even for solo mechanics. By investing in a vacuum pump bleeder and following this comprehensive guide, you can confidently perform brake fluid flushes at home, ensuring optimal braking performance and safety for years to come. Say goodbye to the frustrations of the two-person method and embrace the ease and effectiveness of vacuum pump brake bleeding – your brakes, and your peace of mind, will thank you for it.