Running Windows 11 on your Mac using Parallels Desktop offers seamless integration and powerful performance. However, to keep your virtualized Windows 11 environment legal and fully functional, you need a valid Windows 11 license. This guide will walk you through the process of obtaining and activating your Windows 11 License For Parallels Desktop, ensuring you can leverage the full capabilities of both operating systems.
Understanding Windows 11 Licensing for Parallels Desktop
Just like a physical PC, each installation of Windows 11 requires its own license, even when running in a virtual machine like Parallels Desktop. Parallels Desktop is officially authorized to run Arm versions of Windows 11 Pro and Enterprise on Apple M-series computers, but it does not include a Windows license. You must acquire a license separately.
Whether you’re using Windows 11 Pro or planning to upgrade to Enterprise, understanding the licensing is crucial. For Windows 11 Pro, you need to purchase a retail license from the Microsoft Store or other authorized retailers. These licenses are platform-agnostic, working for both x64 and Arm versions. If you require Windows 11 Enterprise, you’ll first license Windows 11 Pro and then upgrade through a volume licensing agreement with Microsoft, typically managed by your IT administrator.
Purchasing a New Windows 11 License for Parallels
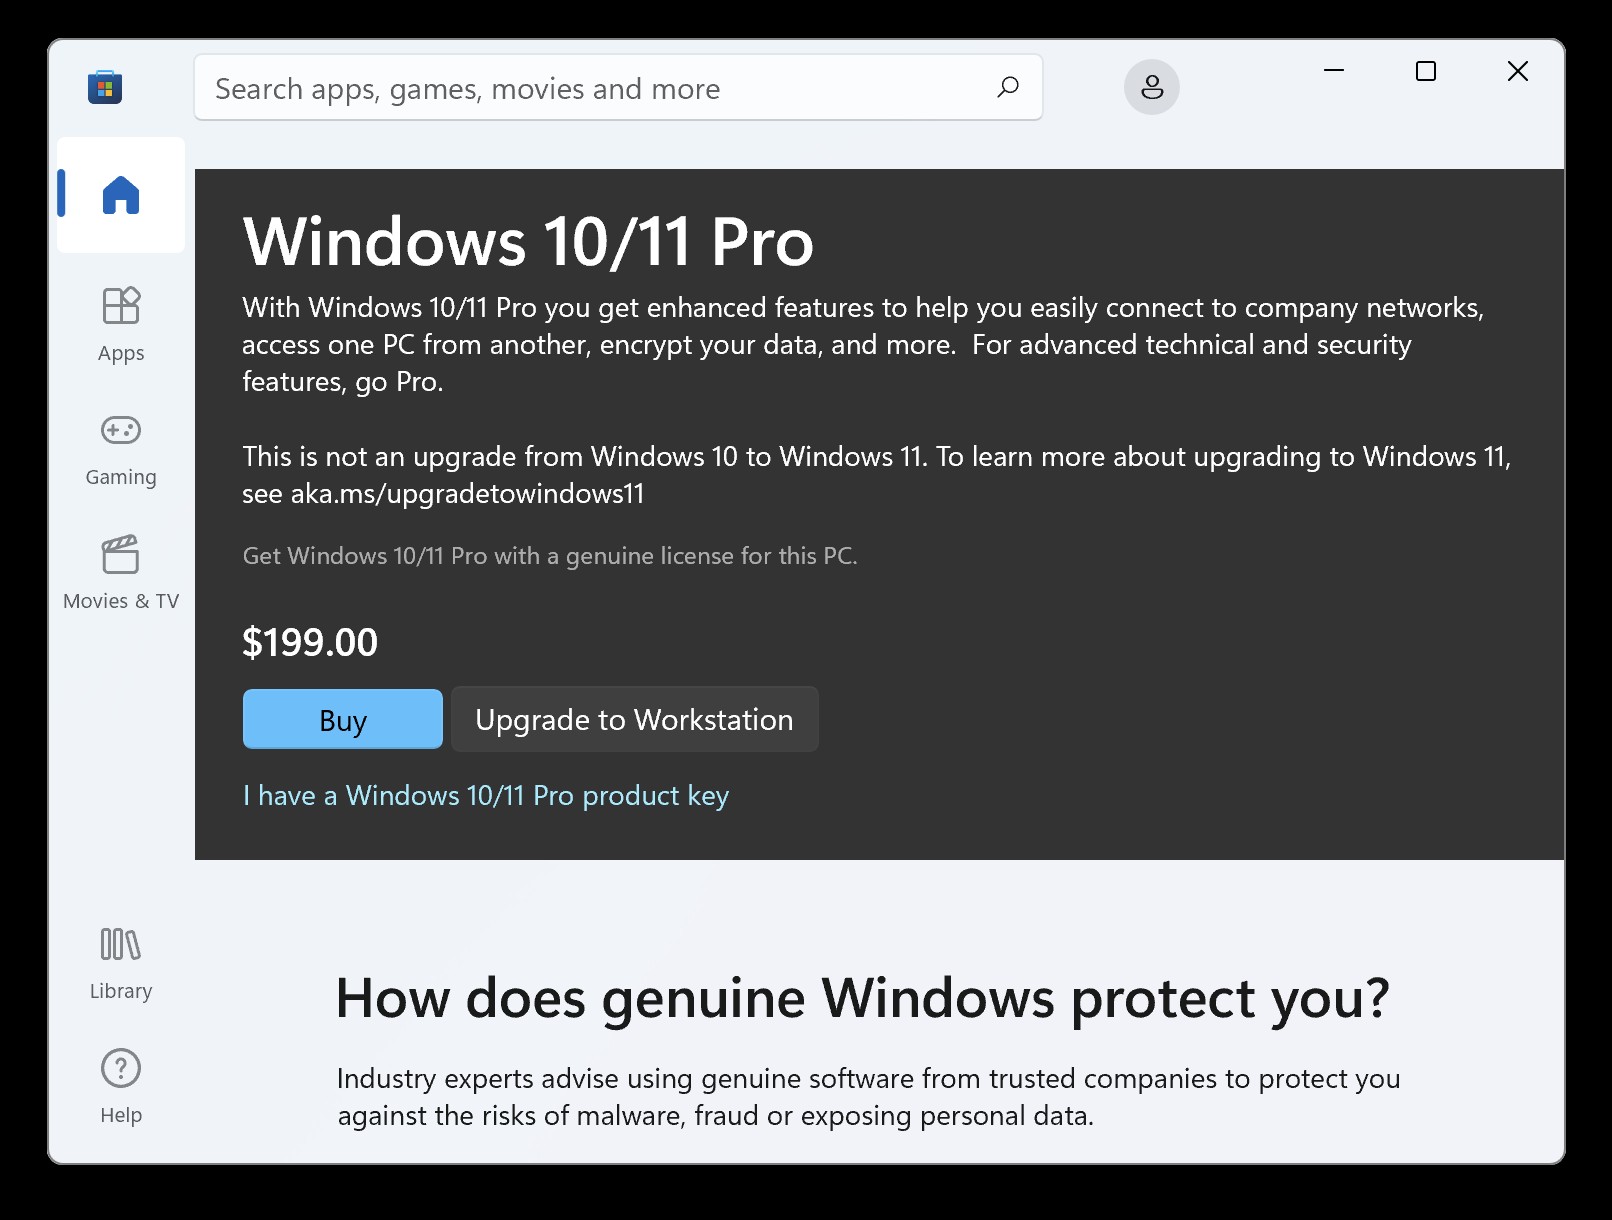
The most straightforward method to activate Windows 11 in Parallels Desktop is by purchasing a new license directly through the Microsoft Store. Here’s how:
-
Access Windows Activation Settings: Within your Windows 11 virtual machine in Parallels Desktop, navigate to the Start Menu, then click on Settings (the gear icon). From there, go to System and then select Activation.
-
Navigate to Microsoft Store: In the Activation settings, you will see an option to “Get a new license in the Microsoft Store app.” Click on this link.
-
Purchase Windows 11: You will be redirected to the Microsoft Store app. Click the “Buy” button to initiate the purchase process. Follow the on-screen instructions to complete your purchase.
-
Automatic Activation: Once the purchase is successful, Windows 11 should automatically activate within your Parallels Desktop virtual machine.
Activating Windows 11 in Parallels with an Existing License
If you already own a Windows 11 license, you can use it to activate your Windows 11 installation in Parallels Desktop. This is particularly useful if you are migrating from a PC or have an unused license. Follow these steps:
-
Open Activation Settings: Go to Settings > System > Activation within your Windows 11 virtual machine.
-
Initiate Troubleshooting: In the Activation settings, click on the “Troubleshoot” option. This is your starting point for using an existing license.
- Hardware Change Option: In the troubleshooting dialog that appears, select “I changed hardware on this device recently“. While technically you haven’t changed physical hardware, this option is the correct path for virtual machine activation using an existing license.
- Microsoft Account Sign-in: You will be prompted to sign in to your Microsoft account. Ensure this is the Microsoft account associated with your existing Windows 11 license. Enter your credentials and press Enter when asked for your Windows password.
-
Device Confirmation and Activation: After signing in, you will see a list of devices linked to your Microsoft account. Check the box next to “This is the device I’m using right now” and then click “Activate“.
-
Windows 11 is Activated: If your license is valid and correctly linked to your Microsoft account, Windows 11 in Parallels Desktop should now be successfully activated.
Activation Successful
By following these steps, you can easily activate your Windows 11 license within Parallels Desktop, ensuring a fully functional and compliant virtual environment on your Mac. For further details and troubleshooting, refer to the Microsoft FAQ.