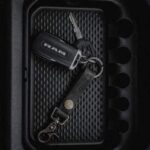
Is your Ford F-150 key fob looking a bit worn out, or do you just want to give it a more personalized and robust feel? I recently decided to upgrade my key fob with an injection-molded case from AJT Designs and wanted to share my experience and a quick how-to guide. Like many, I wasn’t keen on potentially damaging my original Raptor-branded key, so I opted to start with a fresh, aftermarket replacement fob. You can easily find these online – I got mine from Amazon – and programming it is straightforward if you have two existing programmed keys. I even made a short video about the programming process, which you can find linked on my channel.
With the new, programmed fob ready, I moved on to the exciting part: taking it apart and fitting it into the AJT Designs case. AJT Designs provides a helpful installation video on YouTube, which is a great resource. However, I did encounter a few minor differences in my process compared to their video, so I’ll highlight those as we go.
Let’s dive into the step-by-step process of installing your Ford F-150 key fob into the new case.
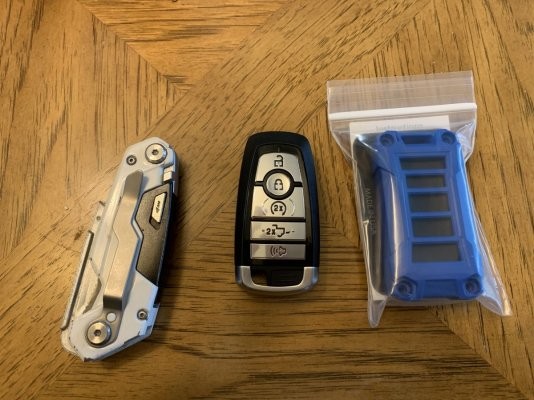
First, you’ll need to remove the back cover of your standard Ford F-150 key fob and take out the battery. Next comes the trickiest part: separating the two halves of the original fob. Using a sharp utility blade – I found a Dewalt carbide blade worked perfectly – carefully score along the seam of the fob casing. You’ll need to go around it multiple times, gently cutting through the adhesive that holds the two parts together. In the corners, I applied a bit more pressure with the blade to help initiate the separation. Be cautious not to press the blade in too deep, as the circuit board is directly underneath.
With enough patience and careful cutting, the fob will eventually split open, or at least enough to pry it apart. Try to avoid sending the circuit board flying across the room like I almost did!
Now you’re ready to start assembling your new Ford F-150 key fob case. Begin by placing the button pads into their designated slots in the front half of the AJT Designs case. The kit is designed to be quite universal, so it’s pretty intuitive. I opted for the kit with the red panic button for a bit of visual flair. Before proceeding, I recommend placing the circuit board onto the back half of the new case to get a feel for how it will fit.
Next, take the large black rubber sealing gasket and carefully position it over the back of the buttons you just installed. Press it firmly into place until it sits flush. This gasket is crucial for weather sealing and ensuring the buttons have a solid feel.
…Continued