Is your 2009 Honda Ridgeline key fob not working as reliably as it used to? Before you assume the worst or head to a dealership, the solution might be as simple as replacing the battery. This guide will walk you through the process of changing your 2009 Honda Ridgeline Key Fob Battery quickly and easily, saving you time and money. You might be surprised at just how straightforward it is to restore full functionality to your key fob.
Identifying the Battery Type for Your 2009 Honda Ridgeline Key Fob
The first step is ensuring you have the correct replacement battery. For the 2009 Honda Ridgeline key fob, you’ll need a CR1616 battery. This is a common button cell battery readily available at most drugstores, hardware stores, and online retailers. Before you begin, confirm that you have a fresh CR1616 battery on hand.
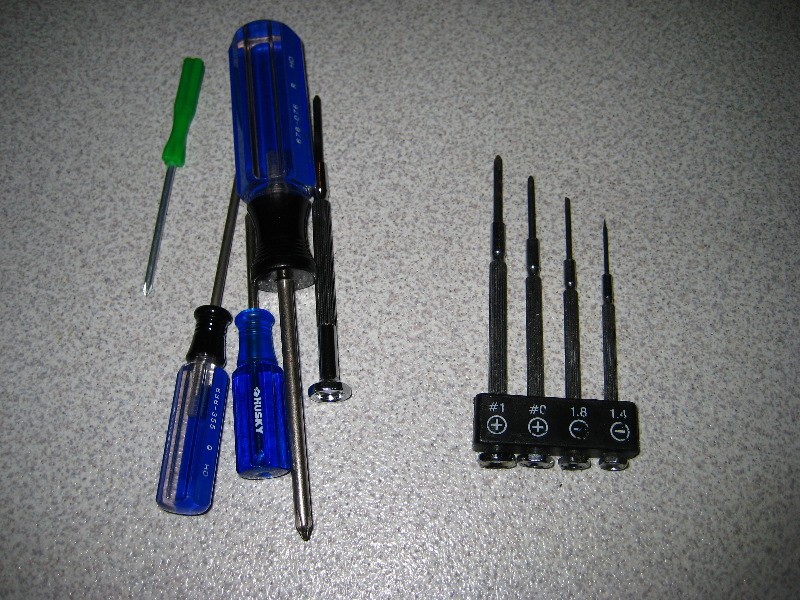
Tools You’ll Need for a Smooth Battery Replacement
Fortunately, replacing your Honda Ridgeline key fob battery requires minimal tools. You likely already have everything you need:
- Small Phillips head screwdriver: This is for removing the tiny screw that holds the key fob casing together.
- Small flathead screwdriver or similar thin, sturdy tool: This will help you gently pry open the key fob casing and, later, separate the internal components.
Step-by-Step Battery Replacement Guide for Your 2009 Honda Ridgeline Key Fob
With your CR1616 battery and tools ready, let’s get started with the battery replacement. Follow these simple steps:
Step 1: Open the Key Fob Casing
Locate the small Phillips head screw on the back of your Honda Ridgeline key fob. Use your Phillips head screwdriver to carefully remove this screw and set it aside in a safe place.
Once the screw is removed, you’ll need to separate the two halves of the key fob casing. There’s often a small notch or seam where you can insert your flathead screwdriver or thin prying tool. Gently insert your tool into this seam, usually located near the keyring loop area, and carefully twist or nudge to begin separating the halves. Work your way around the seam, gently prying until the two halves of the clamshell casing come apart. Be patient and avoid using excessive force to prevent damage to the plastic.
Step 2: Access the Internal Unit and Battery Compartment
After opening the clamshell casing, you’ll see the internal electronic unit of the key fob. This unit is typically composed of two parts that clip together.
Use your flathead screwdriver again to gently pry apart these two internal pieces. They usually separate at each end where small clips hold them together. Once separated, you’ll have access to the battery compartment.
Step 3: Remove the Old CR1616 Battery
With the battery compartment accessible, take note of the orientation of the old battery before removing it. Observe which side is facing up and which side is facing down. This is crucial for installing the new battery correctly.
You can use your flathead screwdriver to gently pry the old CR1616 battery out of its compartment. Be careful not to damage the battery contacts.
Step 4: Install the New CR1616 Battery Correctly
Now, take your new CR1616 battery and install it in the battery compartment. Ensure you install it with the correct polarity. Typically, the positive (+) side of the battery should be facing upwards, but double-check the orientation you noted in Step 3 or any markings in the battery compartment. In many cases, the wide side of the battery goes down into the compartment.
Incorrect battery orientation is a common mistake that can prevent your key fob from working, even with a new battery.
Step 5: Reassemble Your 2009 Honda Ridgeline Key Fob
With the new CR1616 battery correctly installed, carefully reassemble the internal unit by clipping the two halves back together. Then, align the two halves of the key fob clamshell casing and gently press them together until they snap securely shut. Finally, replace the small Phillips head screw and tighten it gently to secure the casing.
Common Mistakes to Avoid (and How to Fix Them) When Replacing Your Key Fob Battery
One of the most common pitfalls when replacing a 2009 Honda Ridgeline key fob battery is incorrect battery orientation. It’s easy to insert the new battery upside down, especially if you didn’t pay close attention to the original battery’s position. If your key fob doesn’t work after replacing the battery, the first thing to check is the battery polarity. Open the key fob again and ensure the CR1616 battery is installed with the correct side up.
Another potential issue is forcing the key fob casing open. Be gentle when prying the clamshell halves apart. Excessive force can damage the plastic clips or casing, making it difficult to reassemble the key fob securely. If you’re having trouble opening the casing, double-check that you’ve removed the screw and try applying pressure at different points along the seam.
Conclusion
Replacing the battery in your 2009 Honda Ridgeline key fob is a simple DIY task that can save you a trip to the mechanic or dealership. By following these steps and avoiding common mistakes, you can quickly restore the functionality of your key fob and get back on the road with confidence. Keep a spare CR1616 battery on hand, and you’ll be prepared for future battery replacements, ensuring your key fob is always ready when you need it.